

This video was taken during our coach training with Terry Laughlin, head coach and founder of Total Immersion swimming. We almost got this in sync!
Category Archives: Swim
Swimming with Terry Laughlin, founder of Total Immersion
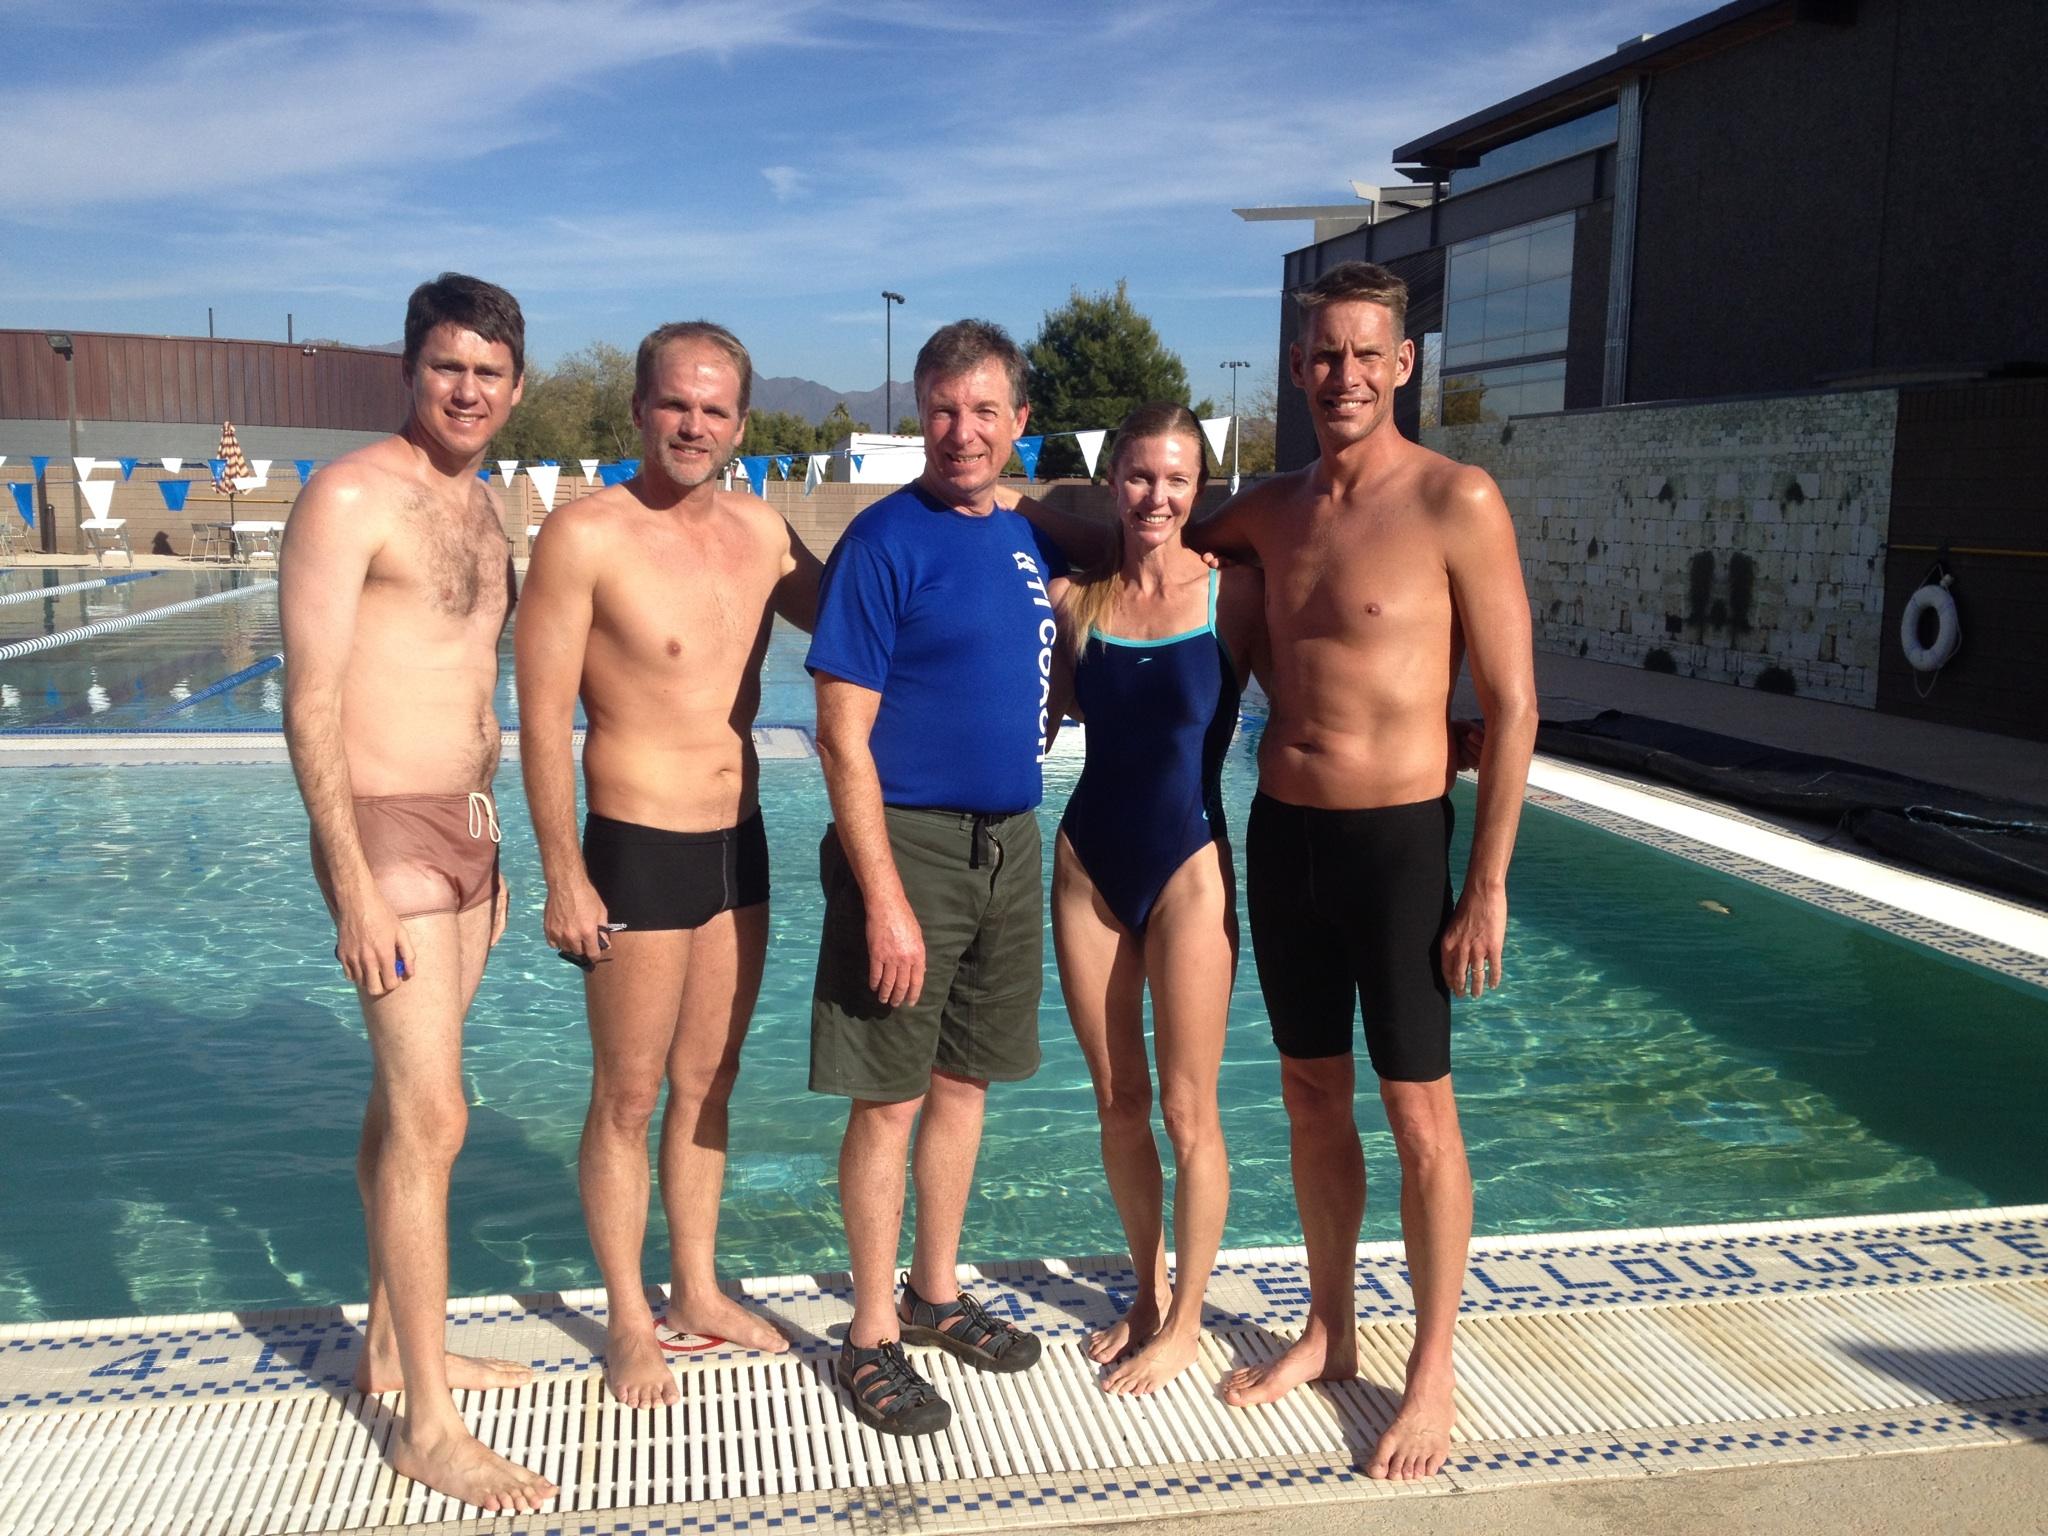 We enjoyed three days of quality swim coach training with the head coach and founder of Total Immersion Swimming, Terry Laughlin, this weekend.
We were joined by Joe Novak, Jeff Utsch, and Patrick Brundage who swam at West Point, Univ of Arizona, and Univ of Texas respectively–read, ridiculously fast. These guys are grace in motion and their attention to disciplined technique work is evident.
You all know I love a good stroke count and these three were routinely holding 8 strokes per length (and yes, that’s counting each arm). Anyhow, lots of great learning and a great opportunity for all of us to fine tune our strokes under Terry’s expert tutelage.
Coach Rants: When an athlete says, “I want to go fast!”
 Athletes who have worked with us over several seasons and have done their training as indicated, have usually enjoyed steady improvement and done so without injury. But when we sit down at the end of the year to plan for the coming season, many times the conversation goes something like this:
Athlete: “But this year, I want to go fast!”
Coach: “Oh! You want to go fast? Well, I wish you would have told me sooner because I’ve written all of your training programs thinking you wanted to go slow. In fact, I’ve withheld key workouts from your programs, silver bullets every one of them, that contain the secrets for going fast.”
Of course, we never say this. But does anyone honestly think we’re not trying our darnedest to write the best program for them given their ability level, time constraints, and goals to allow them to achieve the fastest possible times and do so without injury?
“But I want to be fast. And right now, please.”
Ok. Here it is.
The secret.
How you go fast.*
- Low intensity workouts to build oxygen carrying capability and teach your body to metabolize fat for fuel more efficiently.
- Tempo workouts to build strength and prepare the body for harder workouts to come.
- Threshold workouts to increase lactate tolerance.
- Rest.
- Repeat.
The time required to go fast takes weeks, months, and years of consistent, smart training.
There is no magic 8-week plan.
There is no special track workout.
It’s consistency and patience.
And just in case you’re skimming, let’s make that clear. CONSISTENCY AND PATIENCE are the keys to going fast.
*This is a short article, so technique is not mentioned. But obviously, addressing run technique, pedaling mechanics and bike fit, and swim stroke technique all play parts in the “going fast” equation, especially in swimming. So in addition to following your coach’s training plan to the letter, as we know you are doing, improving technique in each discipline will help you become a more efficient athlete. And an efficient athlete who trains properly is going to see the results they are looking for.
Catch vs Pull

When you open a door, you grab the knob and “pull.” Your hand moves toward you and your elbow and shoulder slide backward in the process. Swimmers who don’t anchor effectively, do the same thing in the water, slipping as a result.
When you think of the words “catch” or “anchor,” the connotation is different. To catch or anchor, is to hold something in place. You are giving your body something to torque around to move itself through the water. When you execute a proper catch, the shoulder rotates internally, the elbow “pops” out, and the forearm hinges downward from your “fixed” elbow. This hinging movement, also known as early vertical forearm, is the key to the catch.
If you try to “pull” immediately after your arm extension, there is a good chance you will slip right through the stroke movement. However, if you take the time to set up a good catch as described above, you will set up a movement that connects with your hip to drive your body forward.
Sculling drills are a great way to address proper catch mechanics.
The word “scull” has various meanings, but think of the oars you would find on a boat in order to row. The verb, to scull, means to propel by means of oars. So, when applied to swimming, think of your forearms and hands as oars that are going to move the water in order to propel you through it.
There are many varieties of sculling drills and all are designed to help you with the catch or anchor portion of your stroke. Throughout the year, but particularly in the off-season, it is nice to add sculling drills to your practice. I will describe one approach (there are many) and what to think about as you do them.
Begin by pushing off the wall, arms extended, head looking down at the bottom of the pool and use a light kick – just enough to keep your hips on the surface. This drill is not a very fast-moving one, so take your time. You will then scull in three different positions:
Position #1 – Extended Position. Begin with arms extended straight in front of you (just under the surface – think Superman), roll your shoulders in, pop your elbows out, keep your wrists stiff (that is, neutral – not bending in either direction), turn your palms out and push the water away to a point just outside of your shoulders, then, turn the palms to face each other and bring the hands toward each other (like a seal), but not to the point where the hands touch. You will be “pushing” and “pulling” the water, or sculling, in movements that are probably less than ten inches in width for each hand. In this first position, you are practicing the set-up to your catch – setting your shoulders and elbows in the proper position for the subsequent anchoring movement. You are also practicing the neutral wrist position mentioned above in addition to the more subjective “feel of the water” against your forearms and palms.
Position #2 – 45-Degree Position. Begin as above in the Extended Position. Roll shoulders in, pop elbows out, wrists stiff. Now, without changing your shoulder and elbow positions, hinge your forearms downward to about 45-degrees below the surface. Begin the sculling motions described above. This is where the meat of your catch begins in the actual stroke. The critical part is maintaining your shoulder and elbow position. At this point, your elbow should still be well in front of your shoulder.
 Position #3 – 90-Degree Position. Begin in the Extended Position, but this time hinge your forearms to a 90-degree angle from the surface. Your fingertips will now be pointing directly down. Begin sculling. You can roll your head underwater side to side at this point to actually watch yourself scull. Pay particular attention to your elbow position relative to your shoulder. The elbow should still be in front of the shoulder. When you are midway through your pull in a whole stroke (when your torso is facing the bottom of the pool), this is where your elbow and shoulder and forearm should be (this 90-degree position).
Position #4 – Combination Position. Move smoothly from the Extended Position to the 90-Degree position, making sculling movements the whole way. Try to imagine the track that your pull will take as you do this drill. Begin by rolling the shoulders in, pop the elbows out, keep the wrists stiff and let your forearms hinge down from your “fixed” elbow – sculling all the while. You are trying to imprint what your shoulders and elbow and forearm should do during your catch in a slow and manageable way.
For all of the sculling positions above, you can breathe either by rolling your head to the side or by doing a quick pitch up of the head.
Proper catch mechanics are paramount for optimal propulsion. Using the sculling drills above, in addition to changing your mindset about “catch” versus “pull” will go a long way toward your goal of becoming a more efficient swimmer.
Wildflower logistics and race strategy
 Wildflower—a world renowned triathlon classic. Here are some points on logistics and race strategy for the long course event that you might find useful.
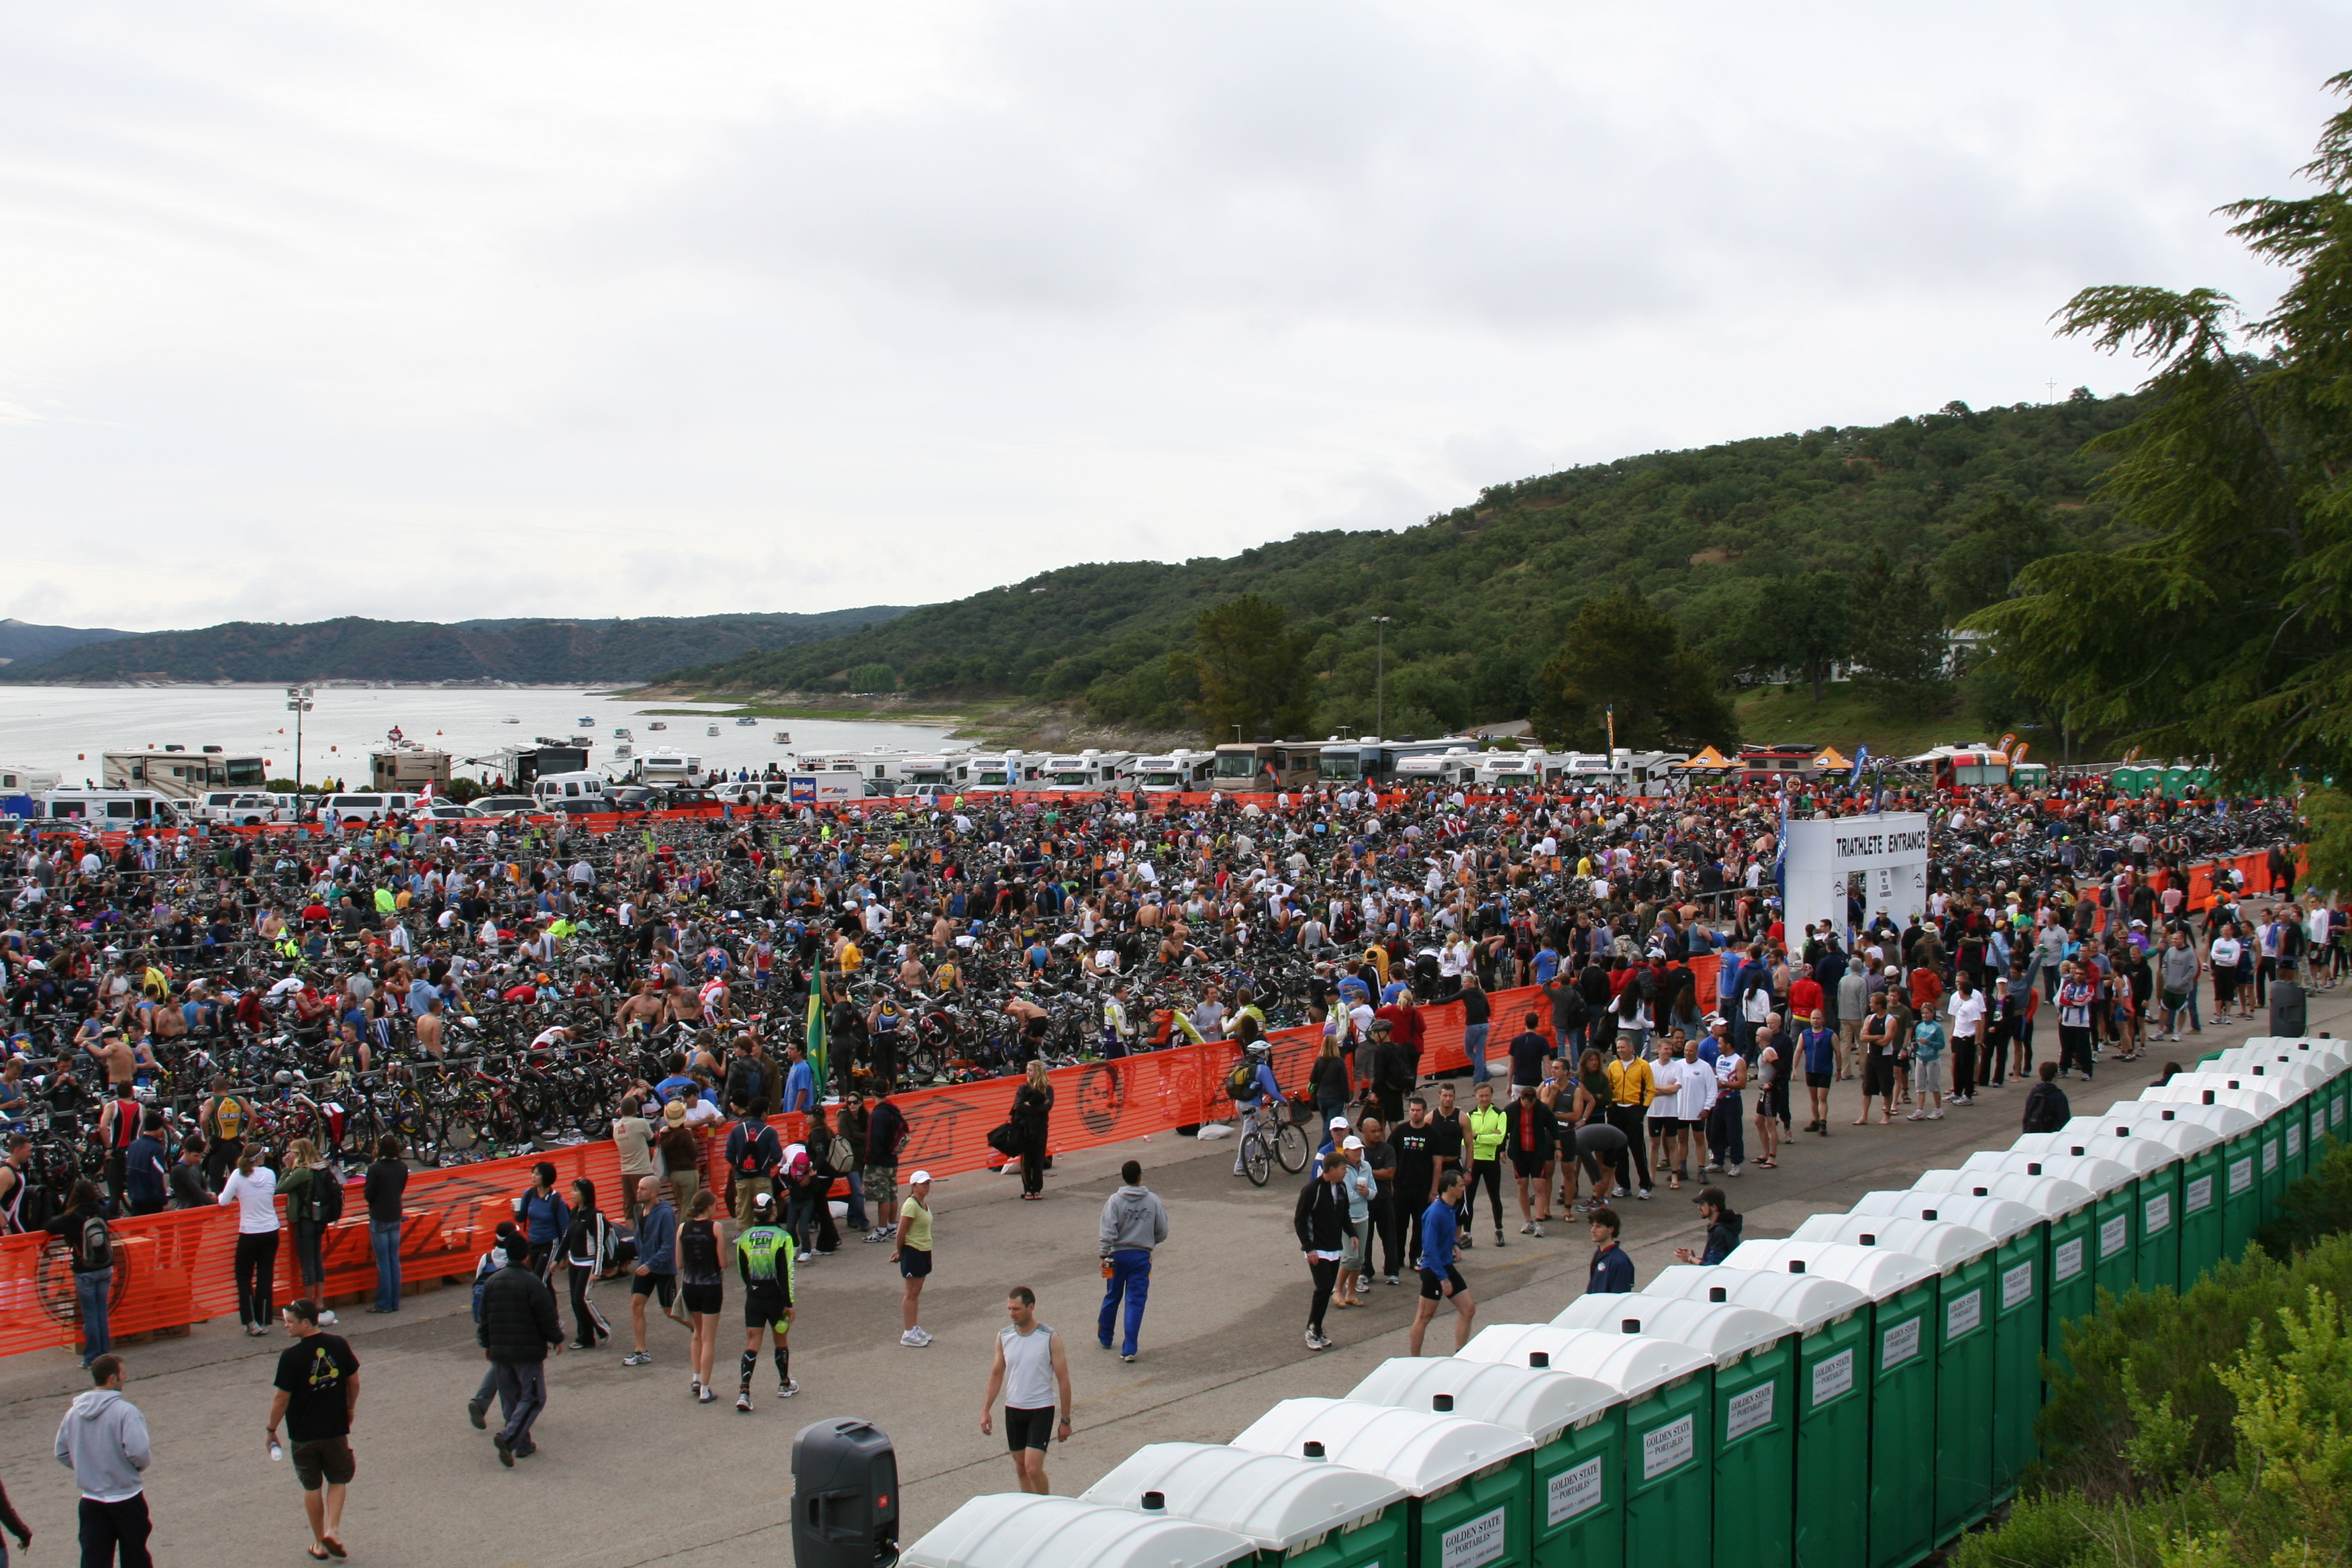
Arrival/camping
One of the things that makes the Wildflower experience unique is the camping. Yep, you and eight thousand of your closest triathlon friends pitch tents or park RV’s for a weekend of camping. Be sure to bring warm clothes for the evening as it can easily drop to forty degrees overnight. Bring food and plan to purchase it prior to your arrival. There is a general store located at the race site, but most campers stock up prior. Paso Robles, a town forty-five minutes from the race site, is a popular spot for last-minute purchases.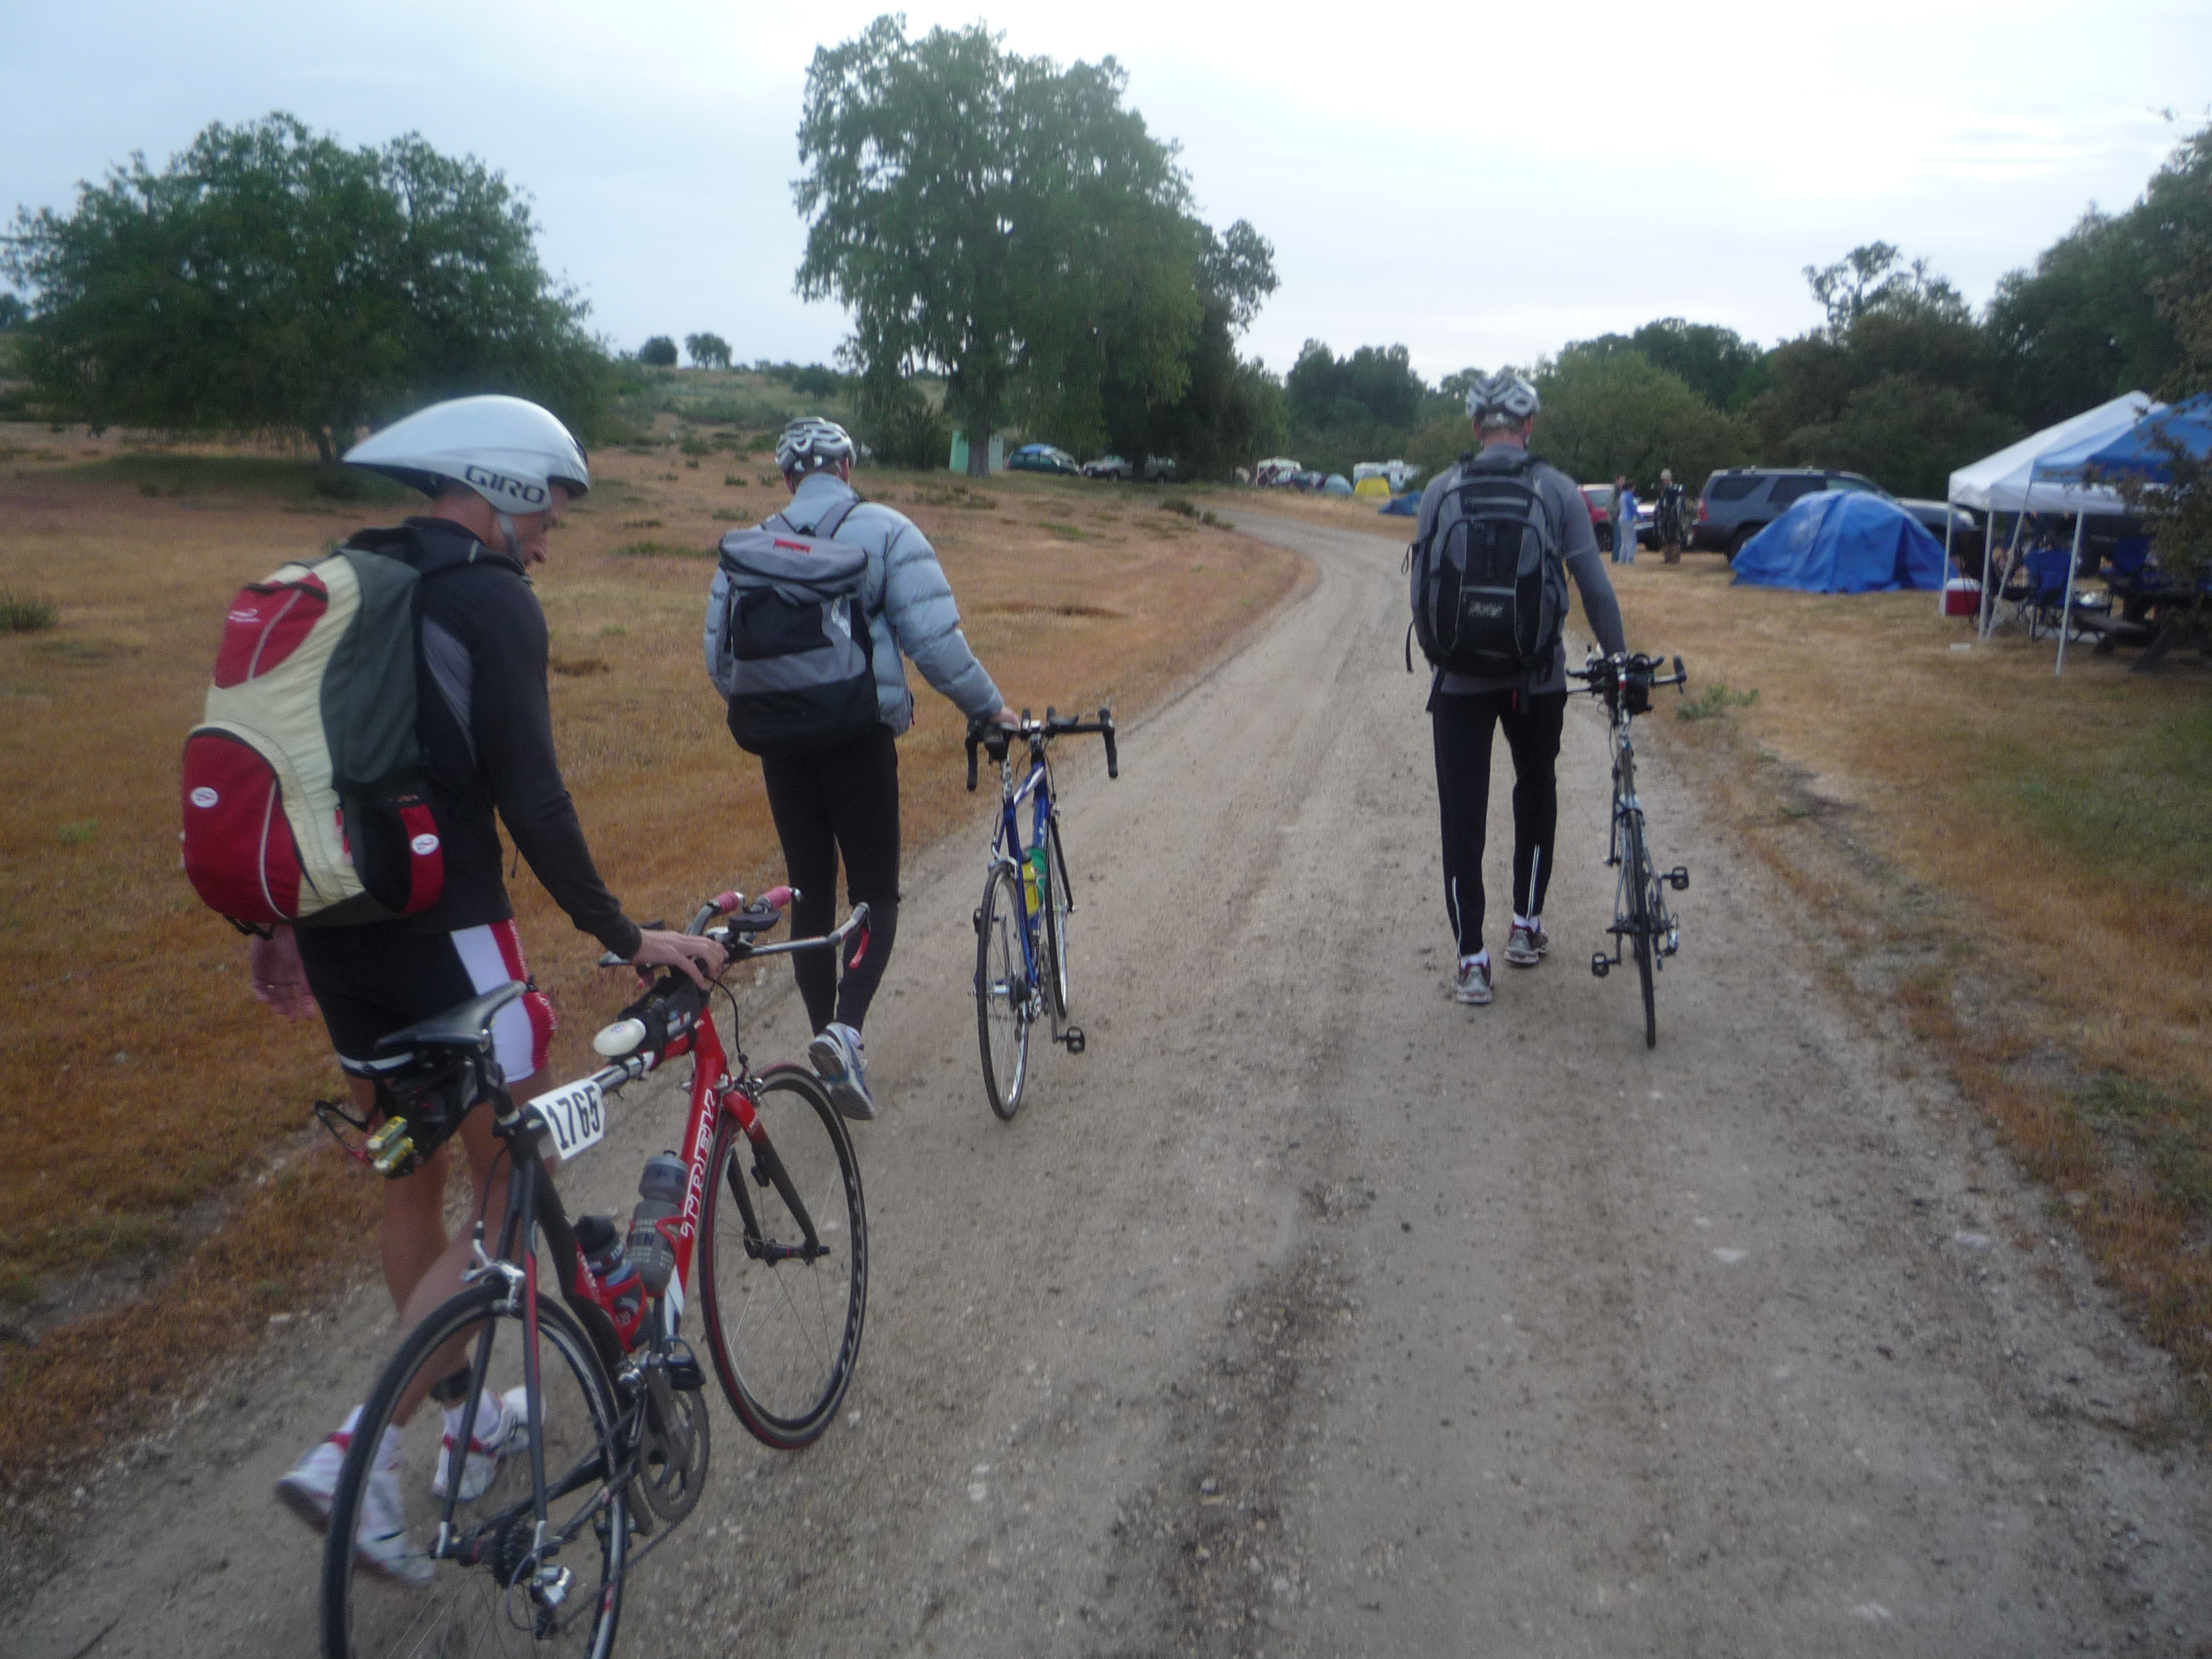
Bring water, although there is usually running water near the camps. Porta johns are numerous and are serviced regularly. Each camping area will usually have a BBQ pit and/or fire ring. Ear plugs are nice to have if you are a light sleeper as many athletes will still be arriving at the camp ground late into Friday night.
Registration opens at 12 noon. This is the best expo in the sport. Take a look around and enjoy! Again, be sure to bring warm clothing for the evenings and morning of the race. Winter hats, gloves, down jackets are not out of place here.
 The expo area/transition area is about 1.5 miles from the camp (overflow camping, that is). Shuttles will be available, but most people just ride their bikes down to transition—down because it is all downhill to the lake. Keep this in mind because if you’ve ridden your bike down, after the race, you’ll have to haul your stuff up!. A nice backpack or transition bag is essential to carry all of your gear down to the race start in the morning.
Long Course Race
Swim
When you arrive at the transition area race morning, plan on having a bit of a wait for your start. Depending on your wave, it could be an hour or more. Expect 20+ waves at this race. Set up your transition area, take care of the porta john business, and then hang out and watch the early waves head out. The swim in Lake San Antonio is one of the nicer parts of the course. Expect cool water in the 60s. The course does not head into a rising sun, so sighting is pretty straightforward.  Try and swim at a steady level 2-3 pace. The effort should feel less urgent than an Olympic distance race. Nice and steady—it’s a long day. Once out of the swim, complete your transition.
Bike
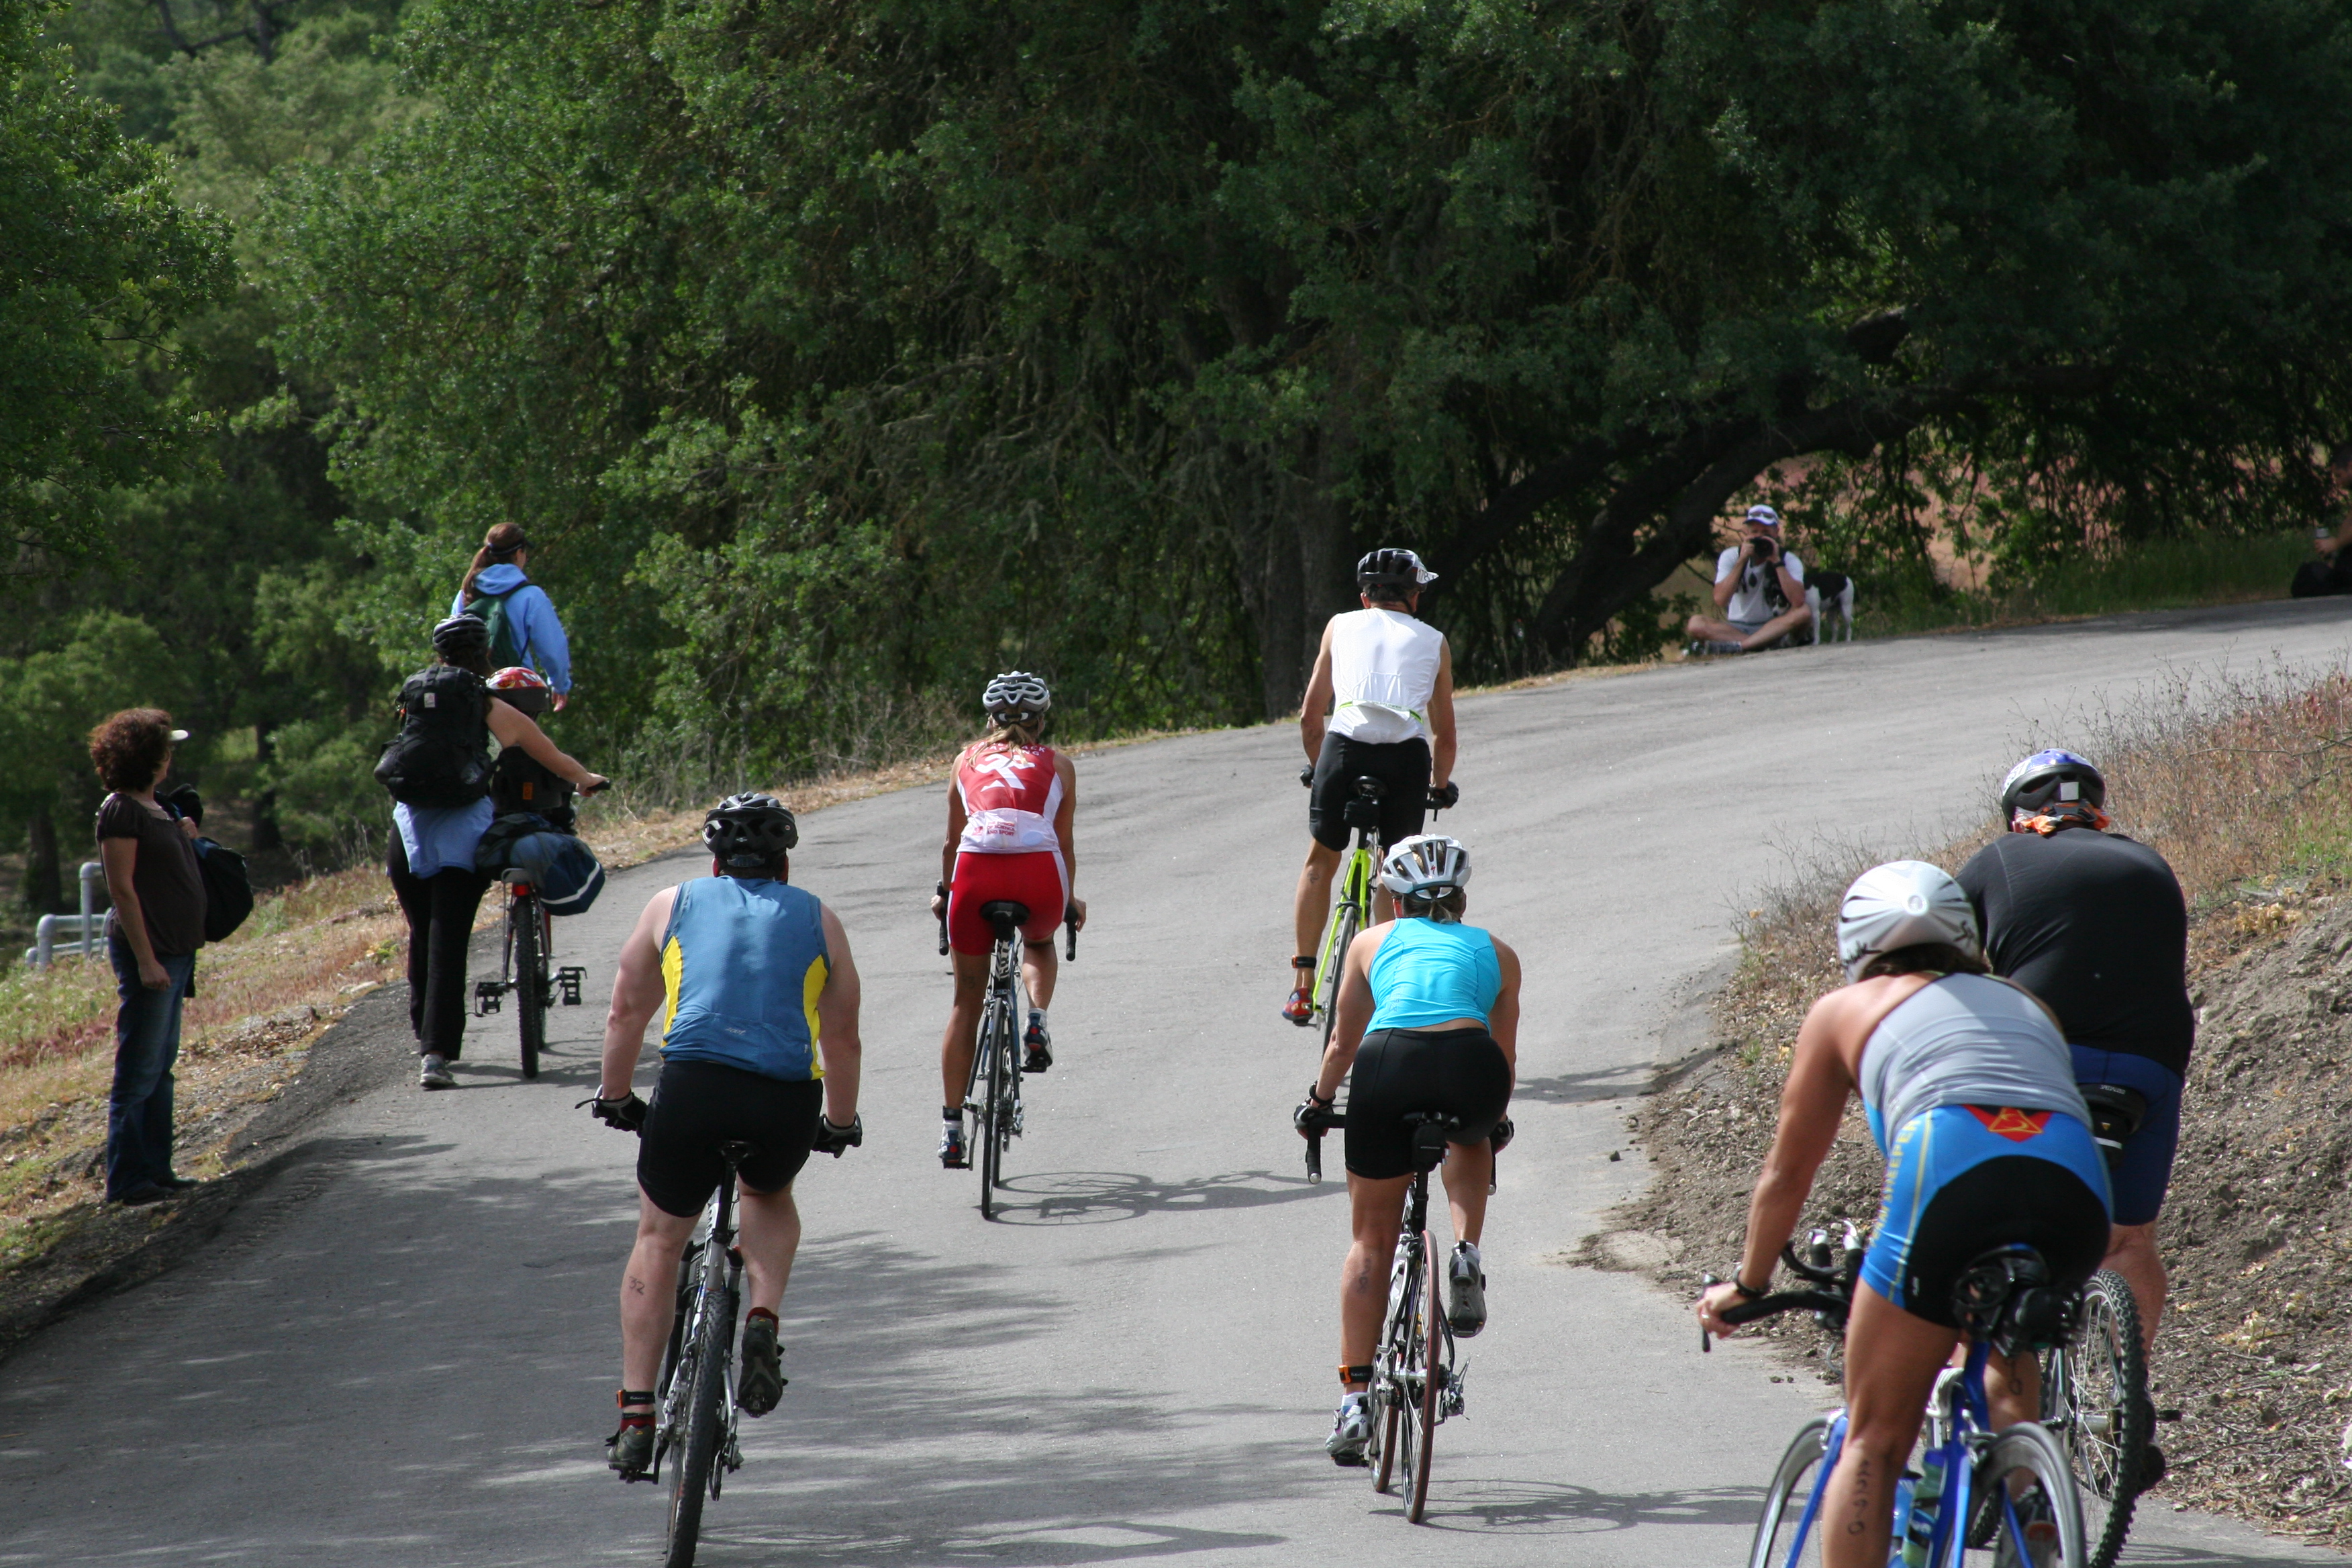
The first mile or so of the bike is along the lake on a rough road. If you plan on doing a flying mount and putting your shoes on underway, try and complete it sooner rather than later as the road gets rougher the further you get from transition. After about the first 1-2 miles, you turn right and head up the first climb of the day. This is called Beach Hill and is very tough. Having just exited the swim, your legs might not be quite ready for a climb yet. As soon as you hit the hill, shift into your easiest gear. A 12-27 cassette is recommend in the back and a 52/39 in the front. Also, if you have a choice of wheels, pick the lightest pair you have. Shift straight to the 27 for this climb and try and maintain your rpms as well as you can. If your rpm starts to decay below about 60, then get out of the saddle and use your body weight to get over the steepest part of the hill. This climb will feel tough, but tell yourself that it is one of the hardest climbs of the day. It gets easier from here. After cresting Beach Hill, you’ll experience about 10 miles of big rolling hills. You will hit 35+mph on the downhills, which helps you to carry some momentum into the uphills. Try not to overwork this section. Your effort for the first 15 miles should be mostly level 2. You should feel like you are out on a normal long training ride. Do not ride the first 15 miles at level 3 or harder or you will fade dramatically on Nasty Grade and the last 10 miles of the ride.
 At about the 15-mile point, the course flattens considerably and becomes flat to gently rolling. If there is no wind, then this is a fast part of the course. You can now build your effort to a steady level 2-3. You should feel like you are at tempo pace or just below tempo.
At mile 38 or so, you will cross a metal bridge. Many people consider this the beginning of Nasty Grade and the return to the hills. The road does not really start climbing after the bridge, but it will definitely feel like you are on a false flat. About a mile or two past the bridge, the climb starts in earnest. Soon, you will find yourself in your easiest gear again. Find a steady rhythm—something you can sustain for the next 15-20 minutes. The hill gets steeper the longer you are on it. About halfway up, you will see an aid station. If you have some fluid left in your current bottle, you might want to avoid grabbing another one here as the extra 500 grams is just dead weight for you to carry onto the steepest part of the climb. At the top of the climb, you will see many fans and what appears to be the top of the hill—do not be fooled! You will turn right at this point and continue to climb for another 5 minutes. Be mentally prepared for this and it will make that last bit of the climb easier to deal with.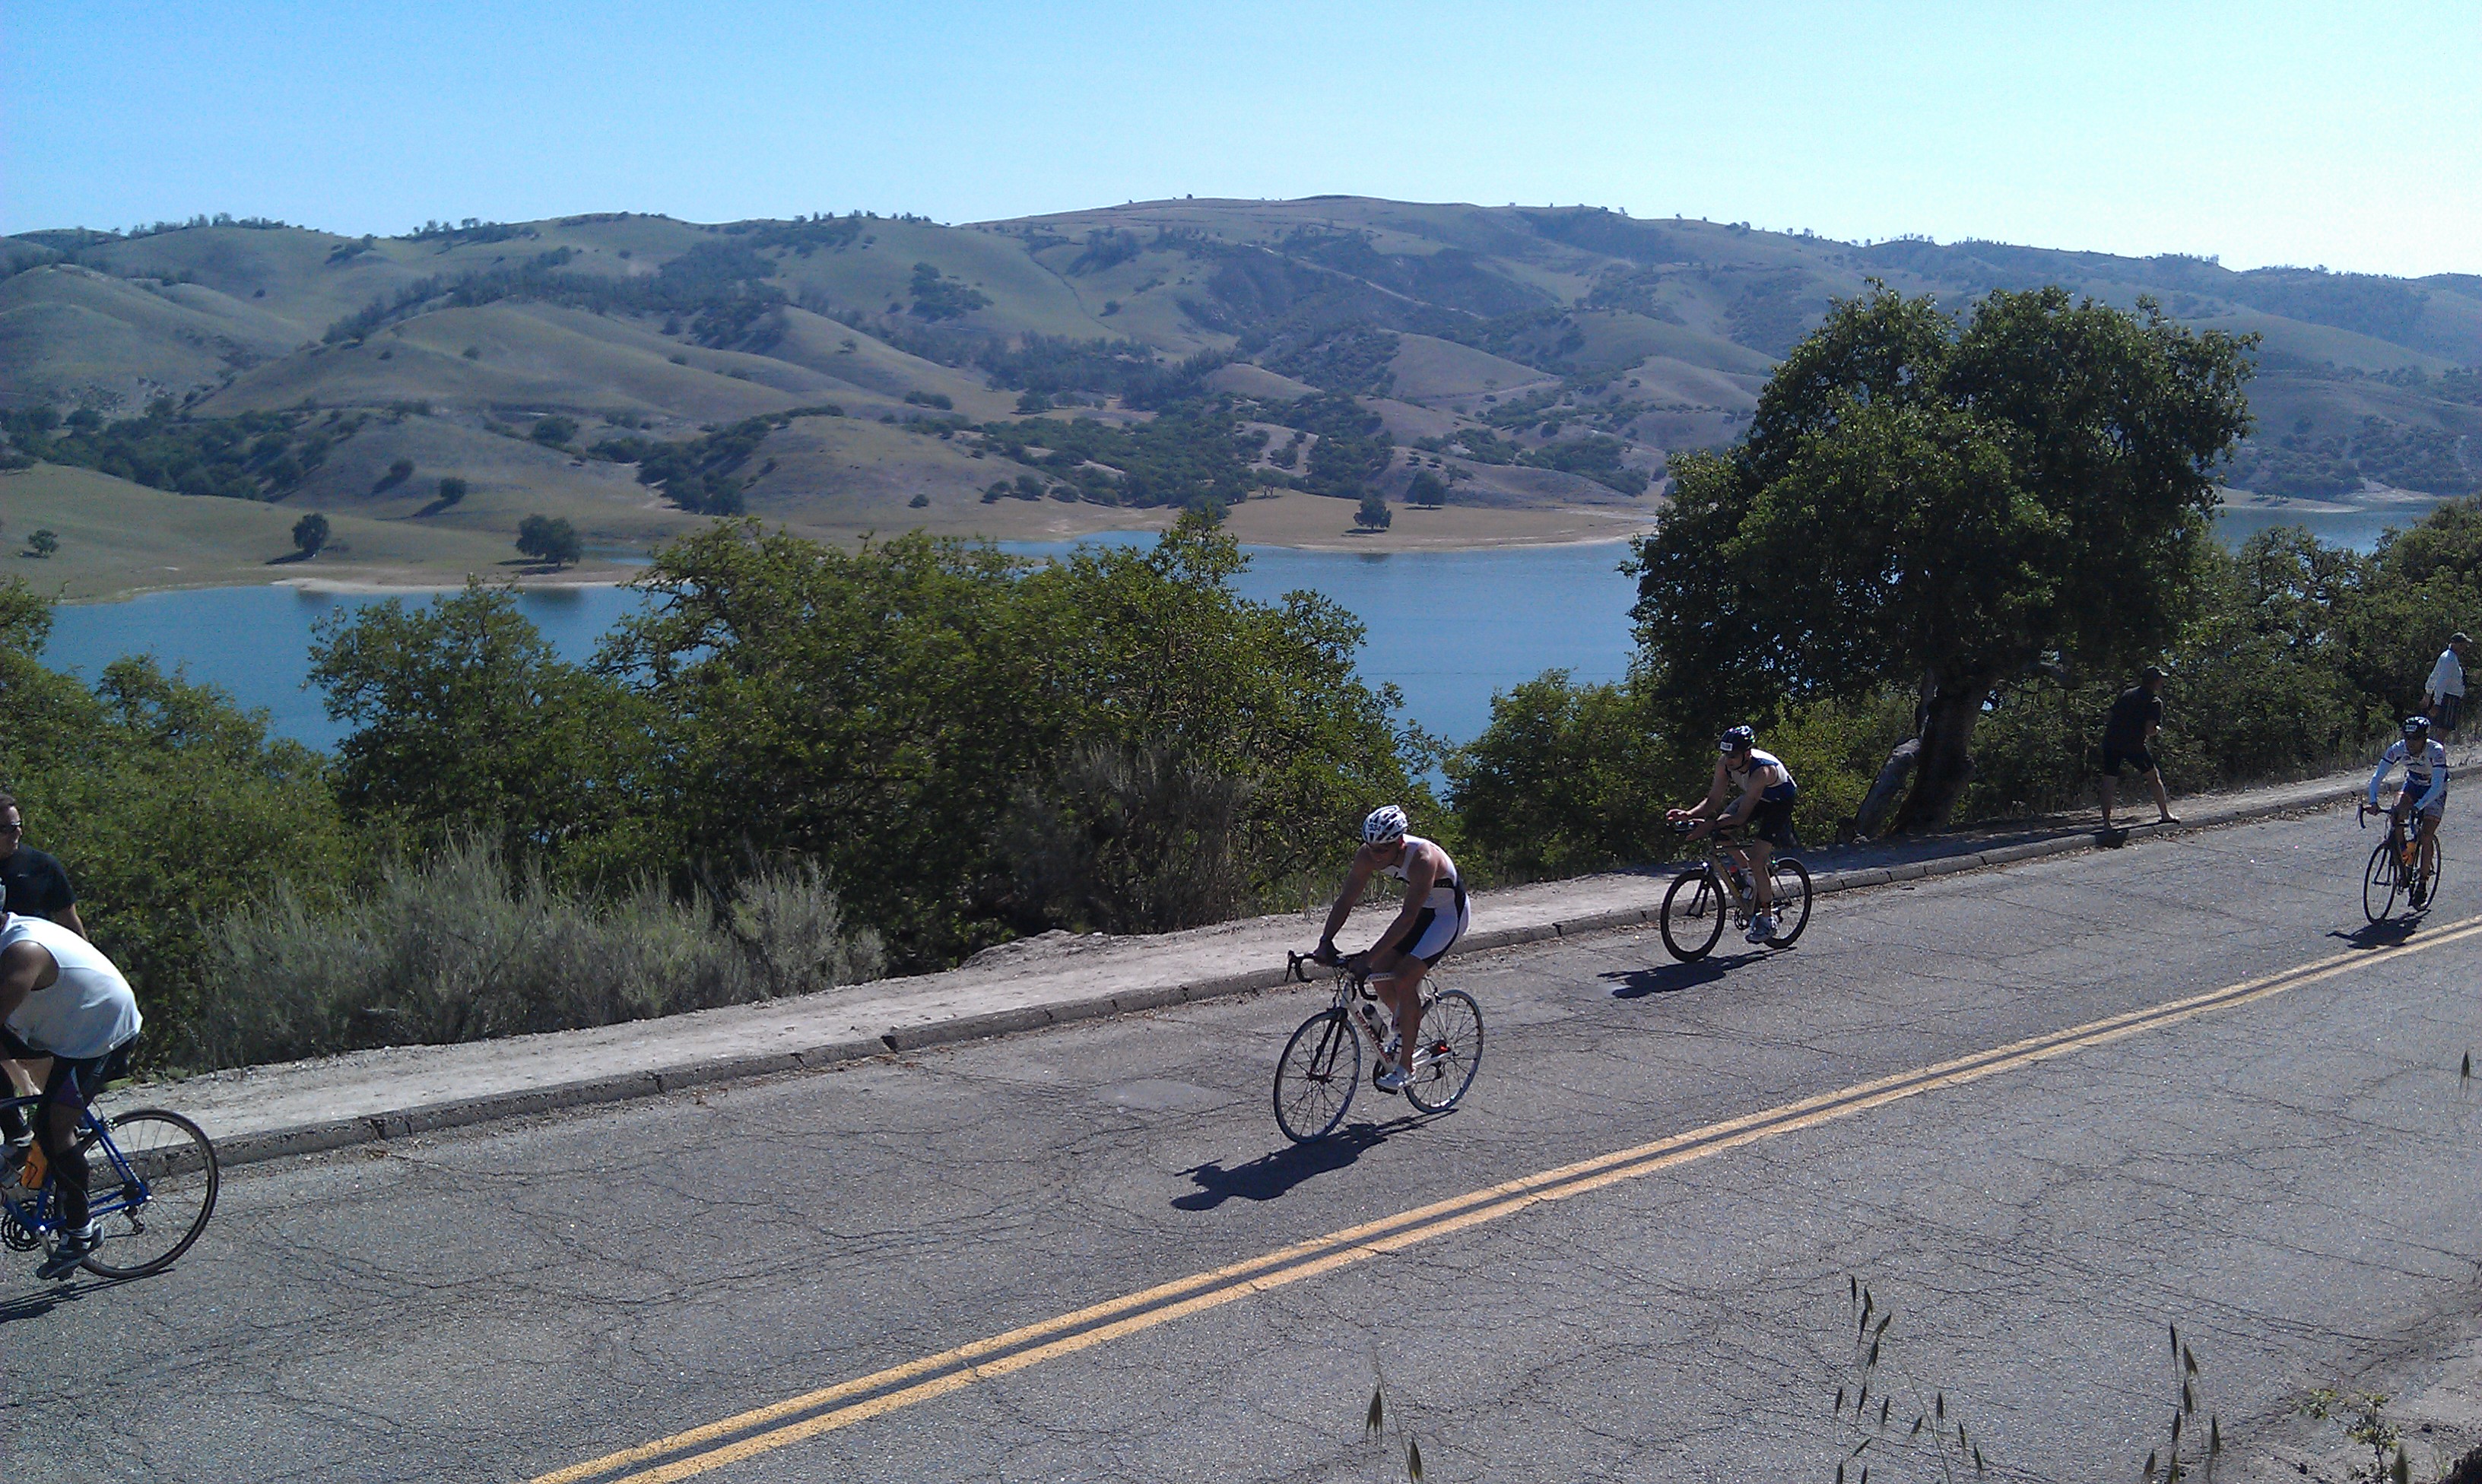
Once at the real top of the climb, you will encounter the biggest descent of the day. The road curves to the right and drops steeply before curving back to the left. It is not uncommon to hit 50mph on this descent. Use your head and only go as fast as you are comfortable. Sit upright for more aerodynamic braking and use your brakes, as necessary, to feel safe. Once off of the descent, you will be about 9 miles from the transition area. Believe it or not, this is the toughest part of the course. You have made it over the most challenging climbs and are about 46 miles into the ride. It is easy to check out mentally at this point. However, these last 9 miles are over big, rolling hills back to the park. With accumulated fatigue and the rising temperatures, these last 9 miles are hard. Be prepared for them and keep telling yourself that the race is not over after Nasty Grade.
The last mile of the ride is all downhill back to the lake and the transition area. If you paced the first 15 miles well and used your easiest gears on the climbs, then you should be ready to head out to the half marathon run in good shape.
Run
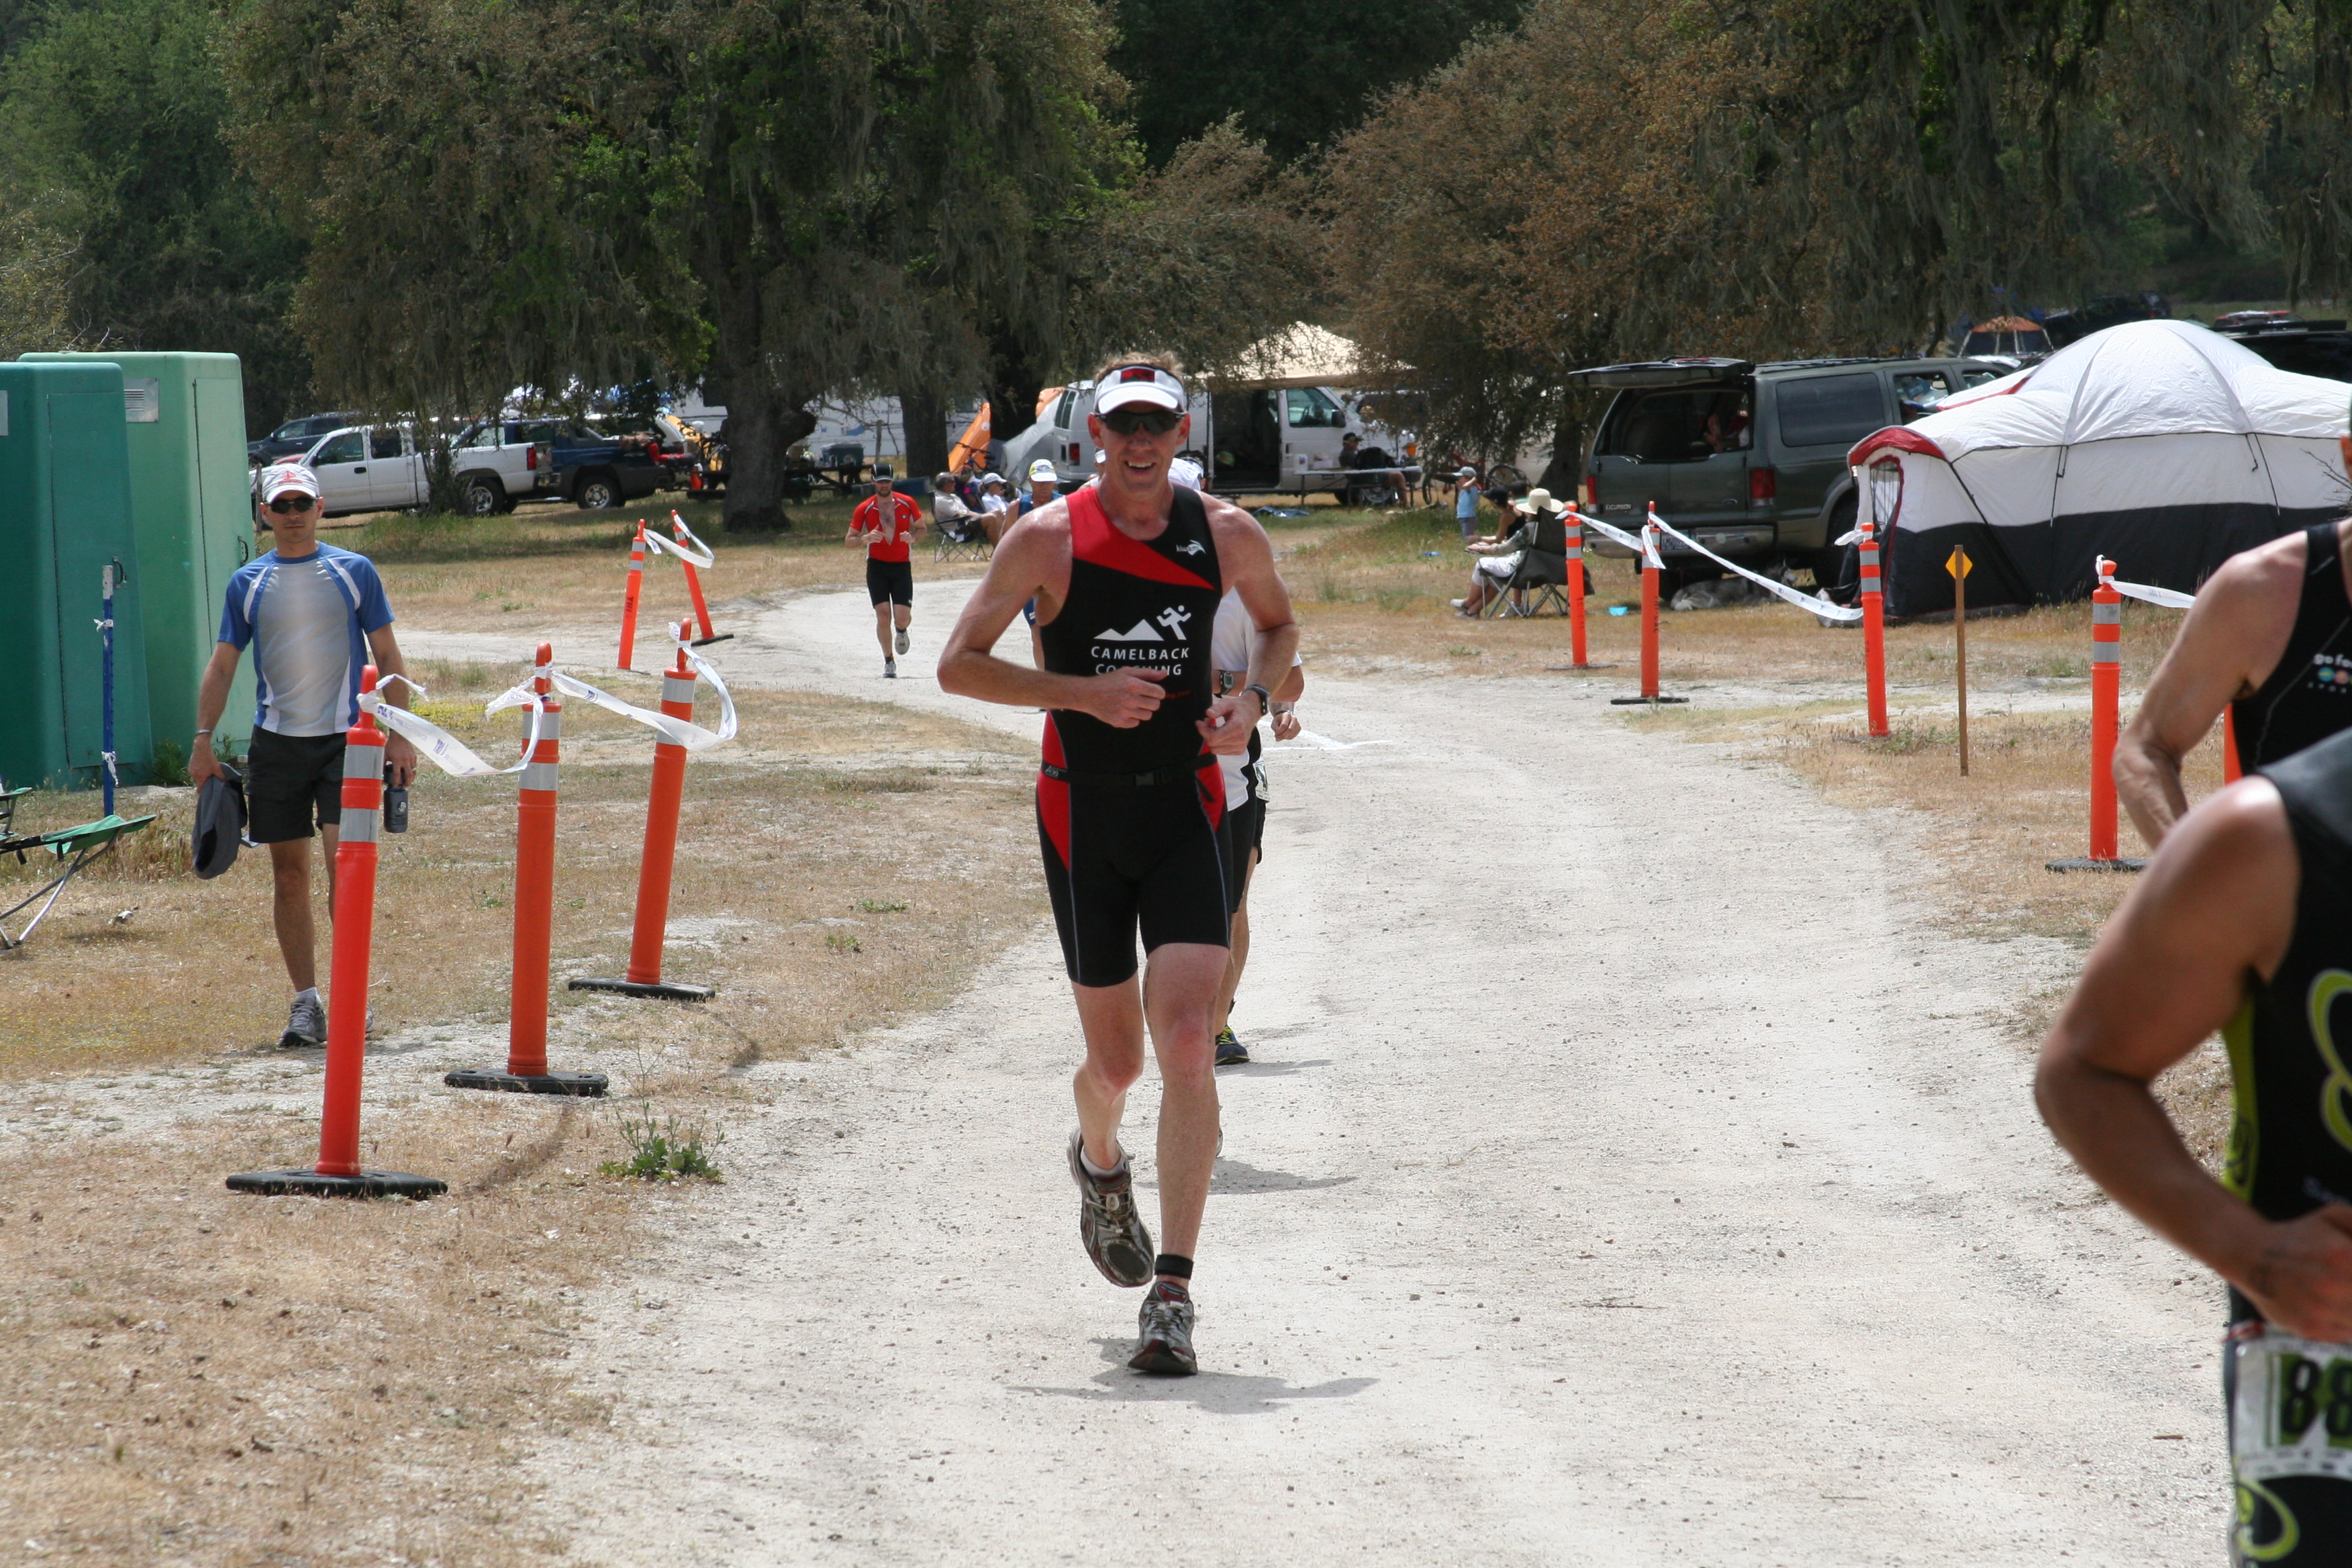 The run course starts with a 2- to 3-mile section along the lake on the same bumpy road that you rode to start the bike. There are short, steep hills along the way. Shorten your stride and keep your cadence high on these rollers. You may even consider walking the steepest pitches in order to save some energy for later in the run. Aim at running a level 1-2 or 2-3 pace depending on how you are feeling. After about 3 miles, you arrive on the trails. For the next 7 miles you will be running on fire roads and trails. It is beautiful, but it can get hot. Be sure to stay wet by dousing yourself as much as possible at aid stations. Between miles 4 and 5, you will find the steepest climb or series of climbs on the run. The trail turns steeply up for about a mile. Many people choose to power walk this section. More power to you if you can run it! The top of the steepest pitch has typically been the location of the infamous “naked aid station.” The organizers have tried to stamp that out, but don’t be surprised to find naked co-eds handing you a drink!
Once at the top of the hill you run steeply down for about 400 yards before the trail flattens in a meadow. You will soon pass the mile 6 aid station and head into the camp grounds. At about mile 6.5, you run right through the campgrounds where 8,000 fellow triathletes and their friends/family have been camping. This is as close to the Tour de France as many of us will get. The crowds line the road and cheer like crazy. It is an absolute rush. Be sure to control your energy as it is easy to find yourself running at level 4 before you realize it.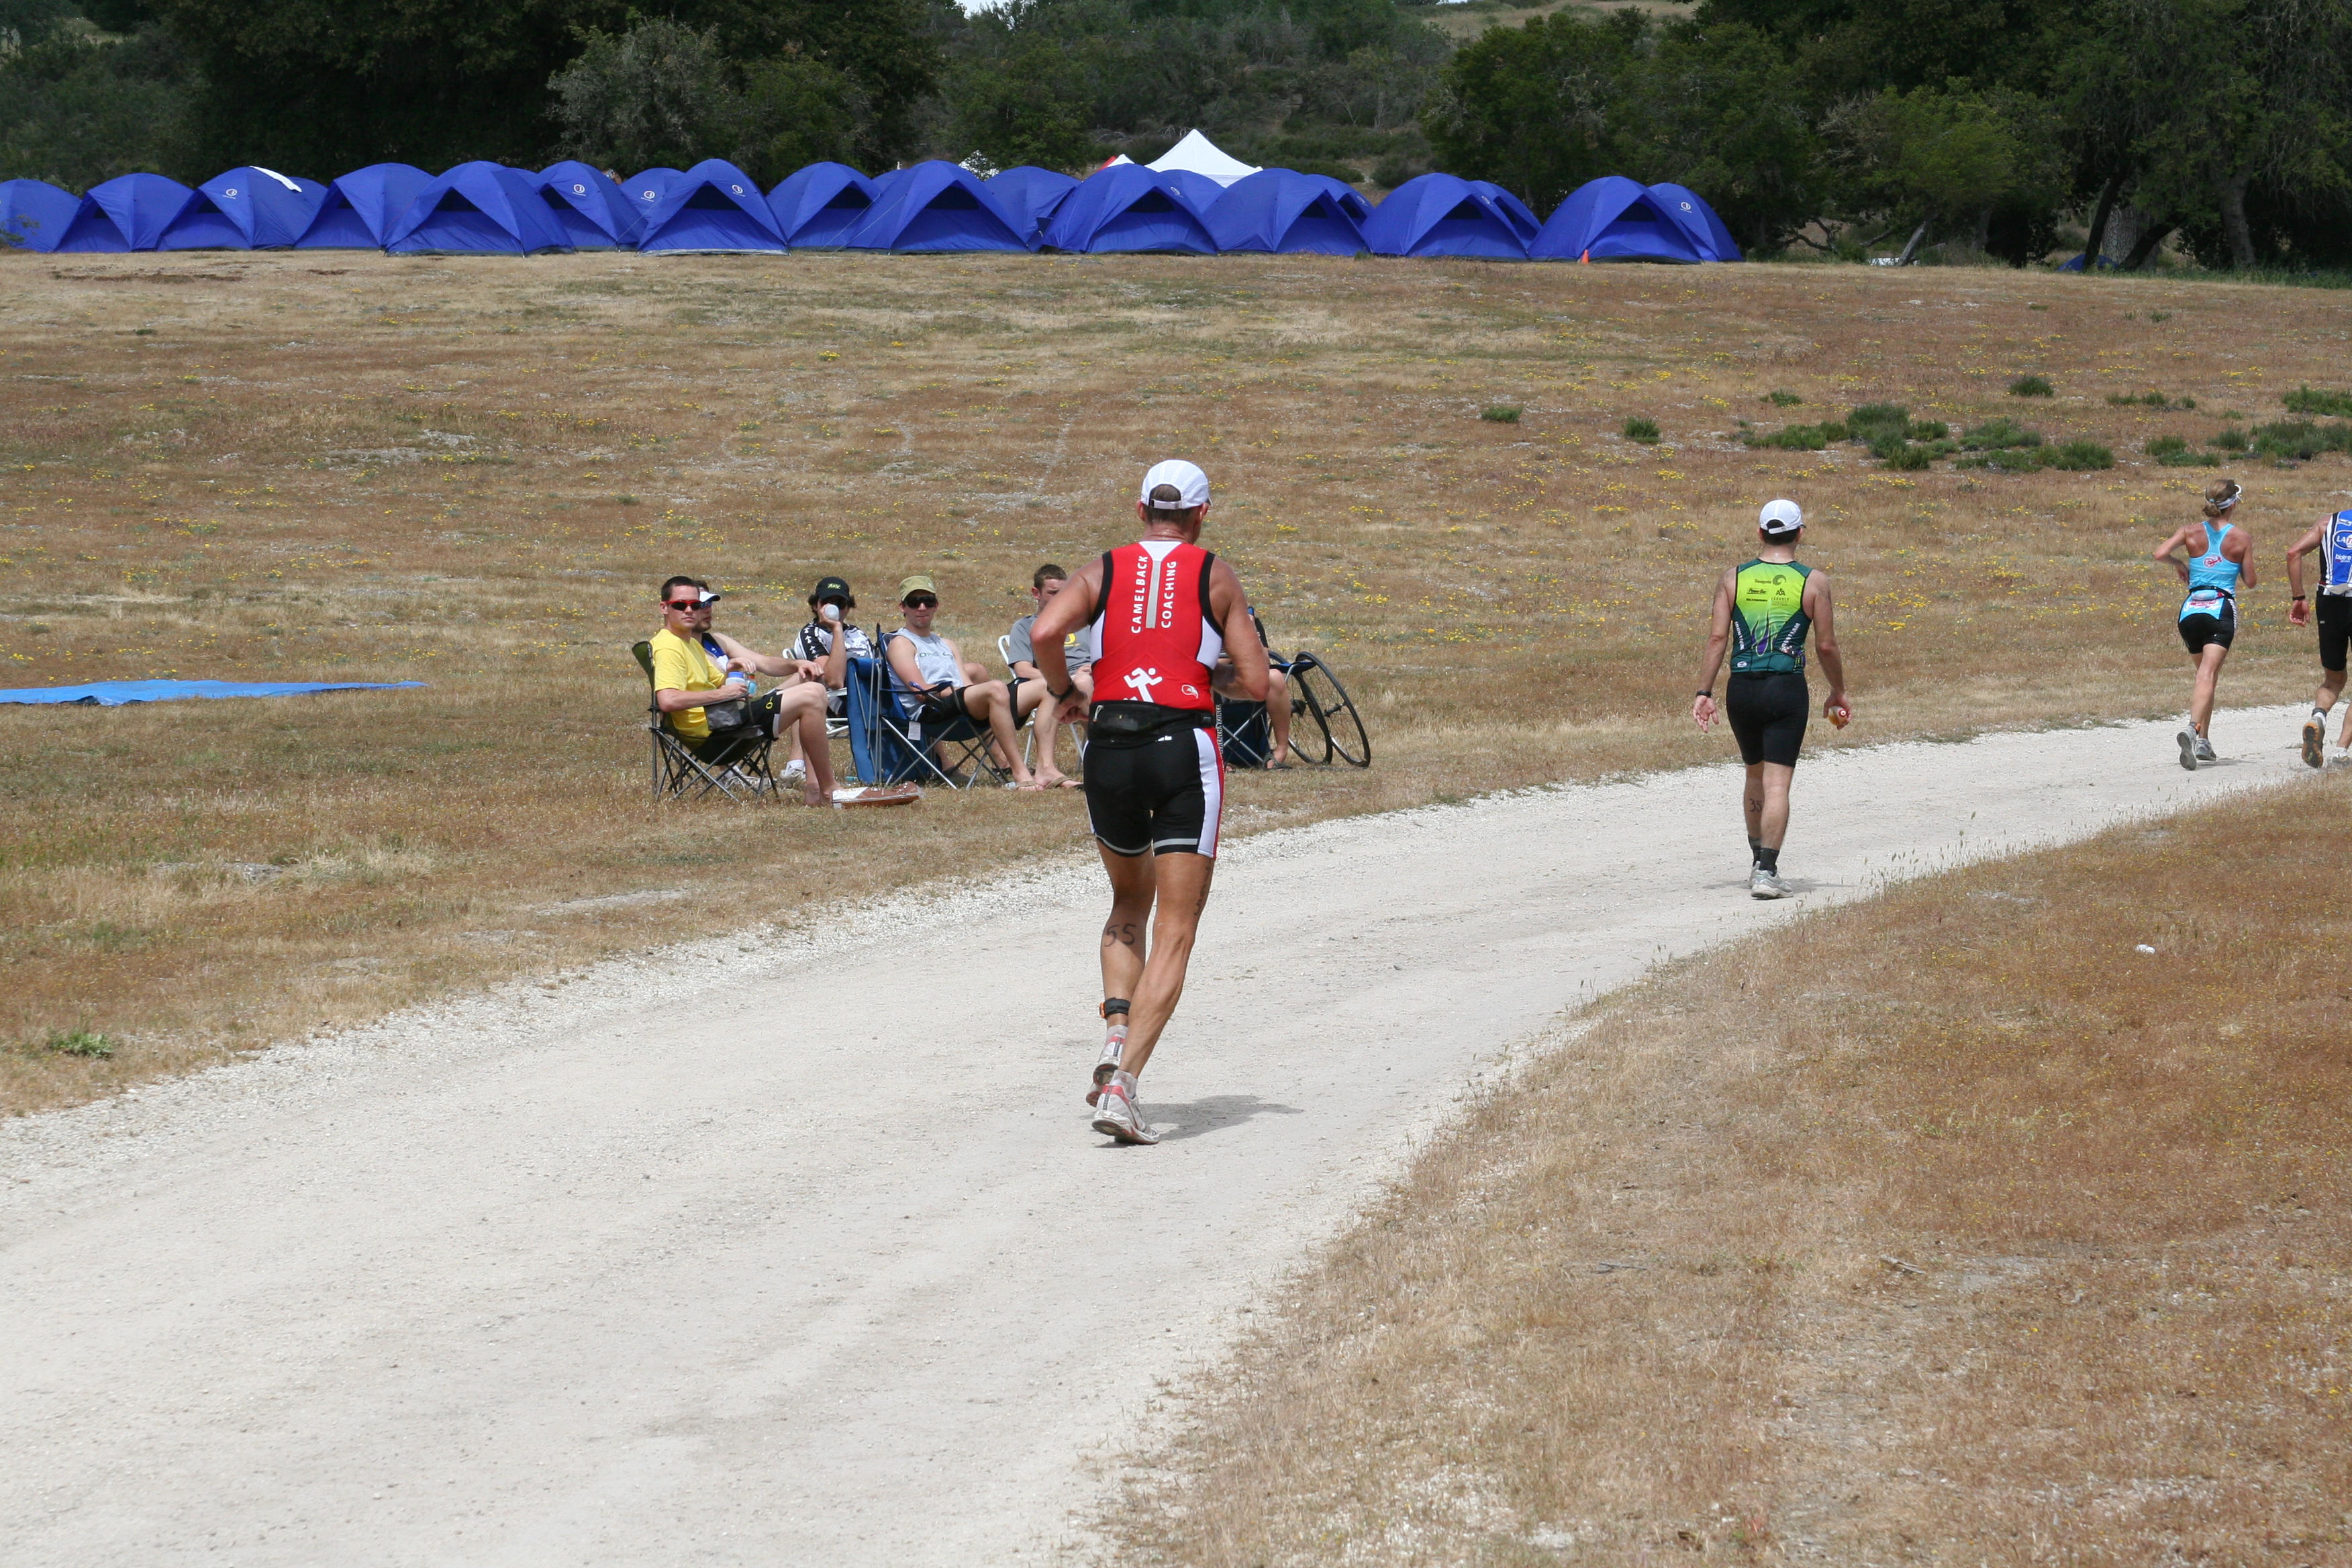
At mile 8 you leave the campground and your energy leaves too! Be prepared for this. Once you leave the campground, stay focused and make mile 10 your next goal. At mile 9, you leave the trail and get back on the road and climb a short hill. You run down this hill for 1 mile—which is nice—until you realize that you have to run back up this hill. Mile 10 comes at the turnaround at the bottom of the hill. If you are doing well, you should try and run up the hill steadily. If you are struggling, then consider walking for 1 minute and running for 2 minutes to get up the hill.
From the top of the hill, you have about 2 miles to go! After cresting the last hill of the day, you run downhill for a mile. Stay under control and keep your cadence high. This can be a painful run as your quads are about done. At the bottom of the hill, you will hear the announcers’ voices and the music. You have 400 yards to the line – kick it in and finish with a smile!
Post-race
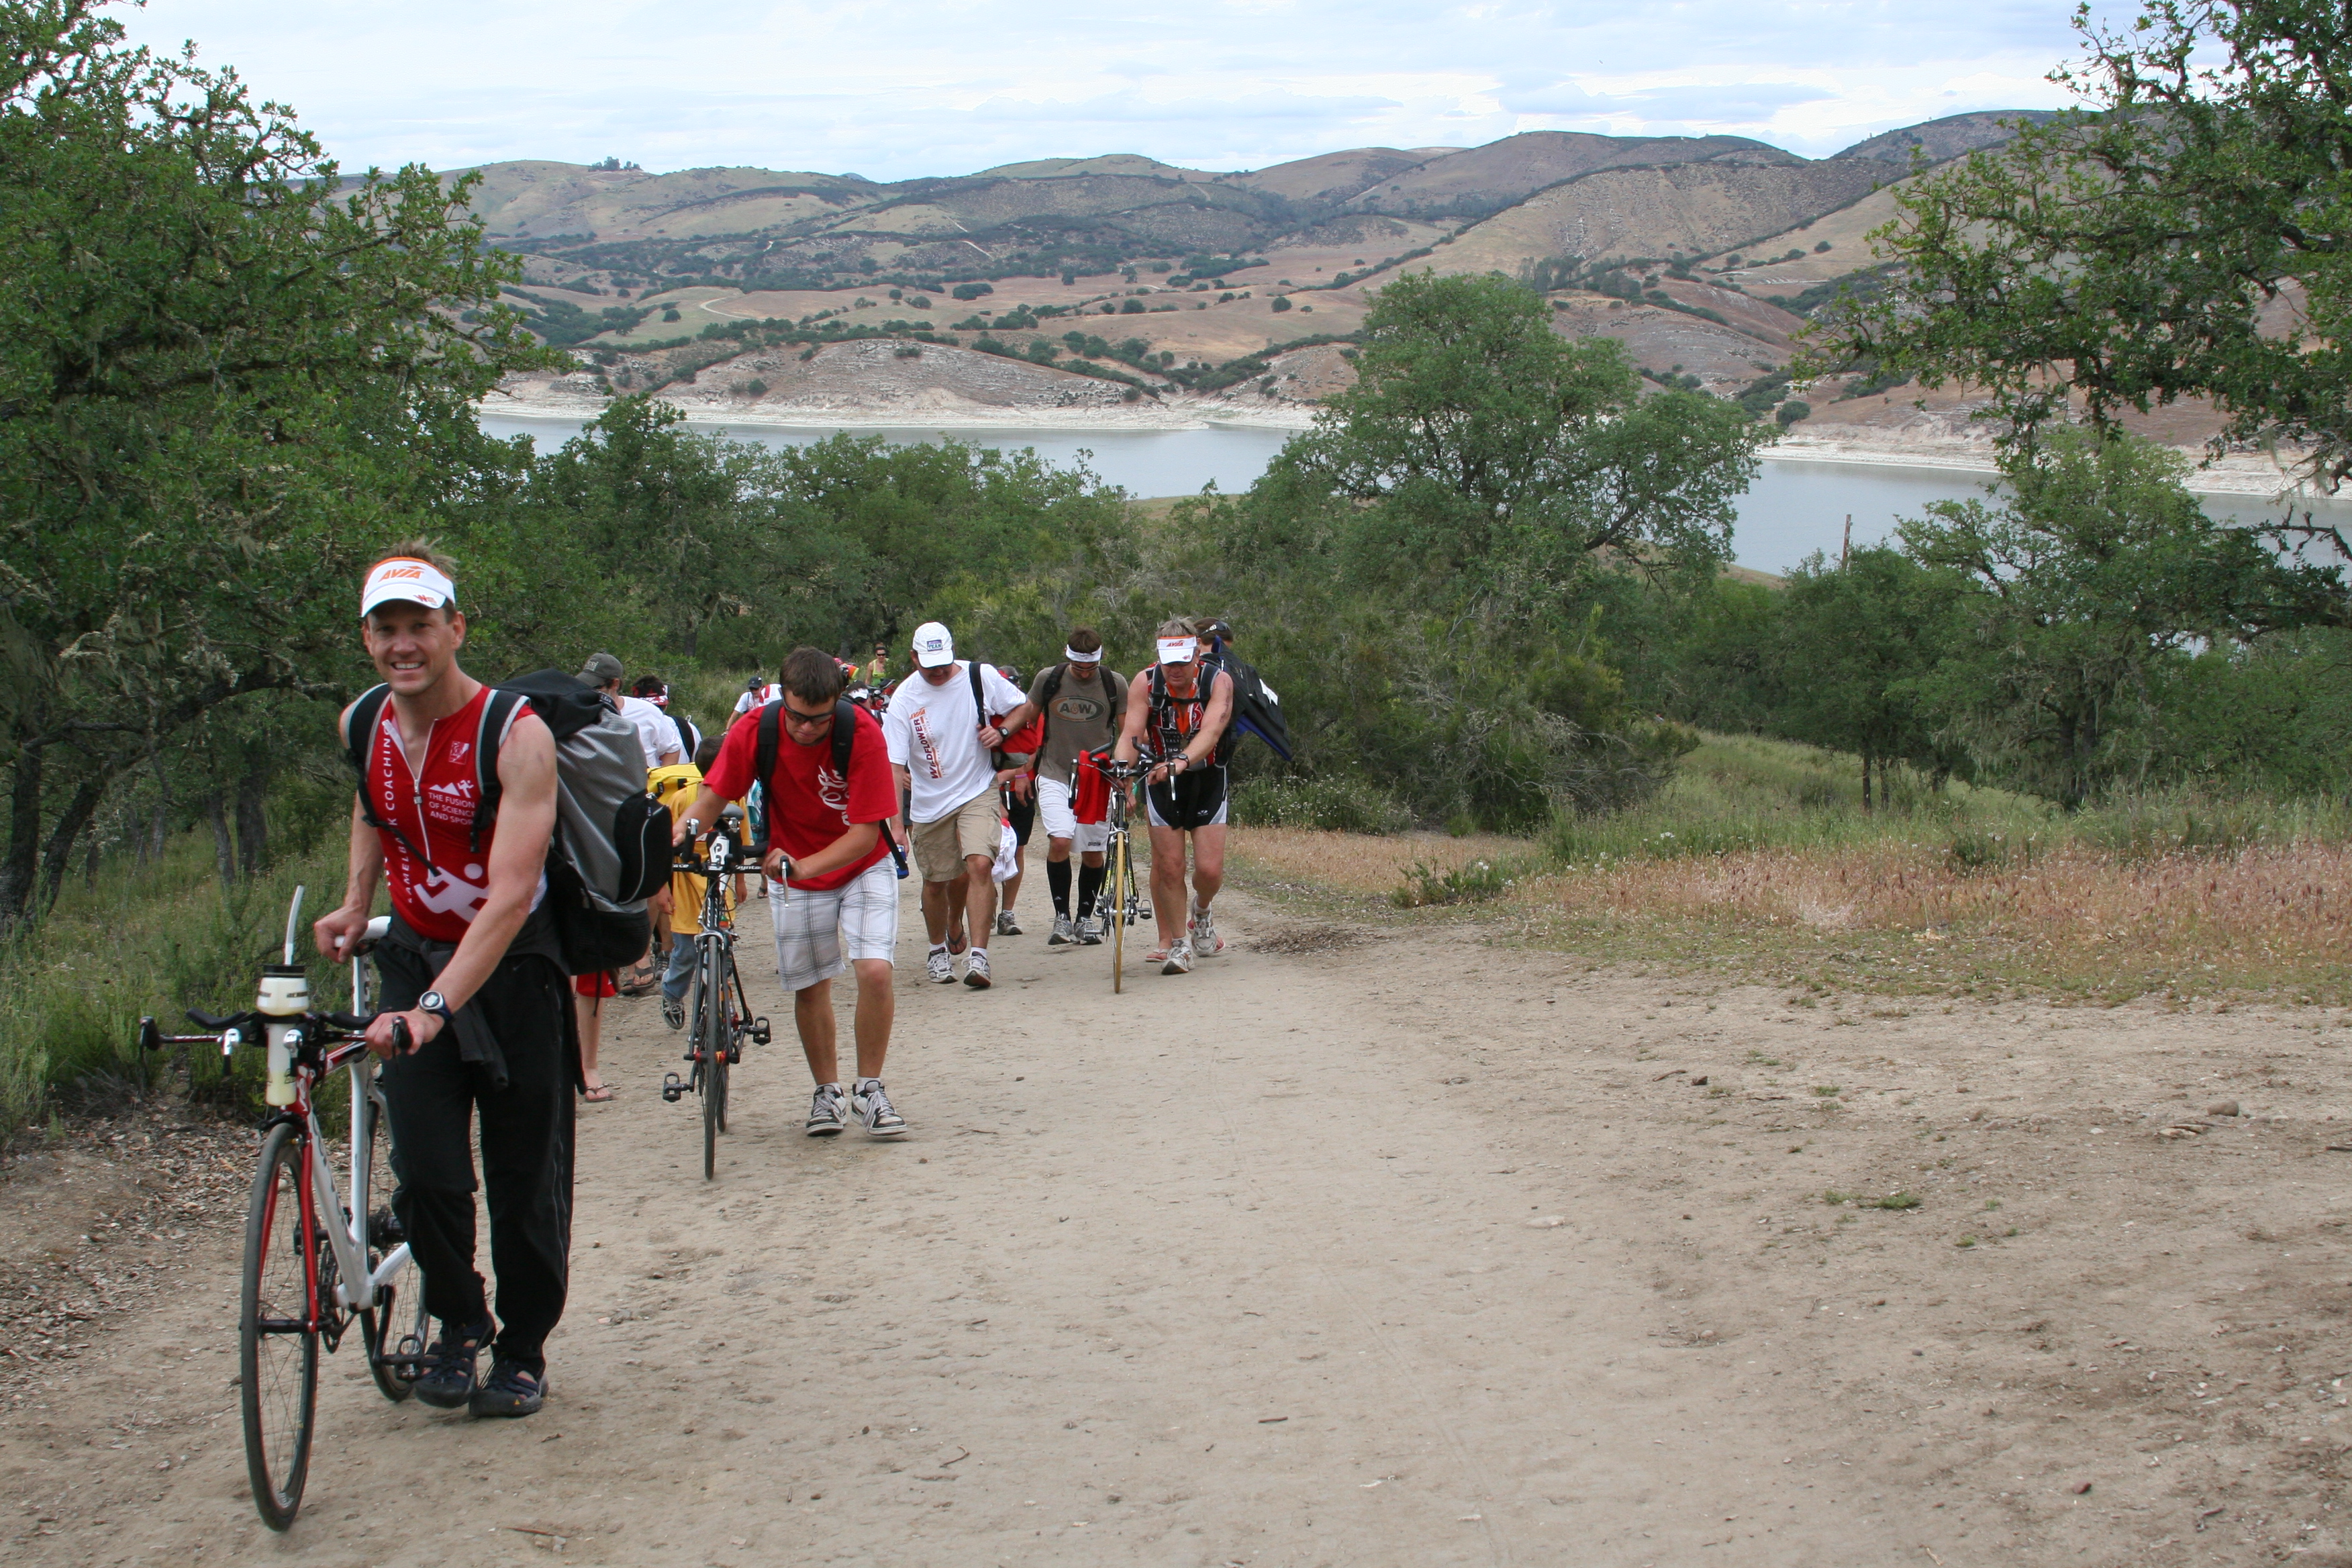 Take your time to fully recover in the post-race area and let your body cool. Once you feel ready, you can tackle the last leg of the race—the hike back to the campground. It is a 1.5 mile hike on steep trails to get back (if going to overflow camping). This is where your backpack really comes in handy. Once back at the campground, kick back and enjoy having finished one of the greatest long course events in the world!
Nutrition Info
As for any long course race bike leg, aim at drinking 20oz of fluid per hour, eating 100-300 calories per hour, and ingesting at least 400mg of sodium per hour. Once on the run, drink a mouthful of fluid at each aid station, eat a gel every 45-60 min and be sure to get at least 400mg of sodium down. Products on the course normally include Gatorade Endurance Formula and Power bars and gels.
Good luck!
Ironman Lecture Series 2013 schedule
In June, we will start our monthly Ironman lecture series for the ninth consecutive year. These lectures will be held on the first Monday (usually) of each month and will discuss in detail subjects pertaining to Ironman training and racing. Subjects will include training volumes, equipment selection, nutrition, race day strategy, sports psychology and goal setting, and contingency planning. These lectures may be some of the most important things you can do in preparing for a successful IM or long course event. Why learn the hard way? At these lectures, you can learn from others’ mistakes and share your own lessons learned with your fellow IM athletes. The lecture series is free to all Camelback Coaching athletes whether you are racing an IM or not. Much of the information can be applied to ½ Ironman racing as well. Others may attend at a cost of $10 per lecture.
The meetings will be held in the Camelback Coaching office starting at 6:00PM and will usually be done by 8:00PM. We will provide food and drinks. The dates of the lectures are listed below (dates and times subject to change). We will send reminder e-mails prior to each one. If you cannot attend please be sure to let us know and we’ll send you the power point presentation.
Lecture #1 – Training Road Map – June 3rd
Lecture #2 – Nutrition – July 1st
Lecture #3 – Goal Setting – Aug 5th
Lecture #4 – Equipment Selection – Sep 9th
Lecture #5 – Contingency Plans – Oct 7th
Lecture #6 – Race Strategy – Nov 11th
The Serpentine Swim
 When a pool swim is offered as the first leg of a triathlon, it is often billed as “perfect for beginners.” Other than the fact that you have the ability to hold on to the wall after each length, a serpentine-style swim can sometimes feel a little rough because the pool suddenly becomes a very crowded place. But a little know-how can go a long way to make a serpentine-style pool swim an enjoyable one.
A serpentine swim begins in the far end lane of the pool. Swimmers are normally queued in a long line on the pool deck according to their start time (often seeded based on a time you give when filling out your race application). Swimmers then enter the water one at a time and begin swimming. There is normally a standard interval between swimmers (every 15 seconds, for example).
You will find one of two scenarios after the start depending on the number of lanes at the pool and the distance of the swim. The best course set-up involves one-way swimming, meaning all swimmers travel in one direction down a lane, duck under the lane lines and swim back in the opposite direction in a different lane. You continue this way (swimming one length, ducking under the lane lines, and swimming in the next lane), until you reach the other side of the pool.
The nice part about this arrangement is that in the event you need to pass someone, you can do so easily by moving to the other side of the swimmer and making the pass. Everyone is swimming in the same direction, so this is usually relatively easy.
The second scenario is trickier. This involves swimming one length of the pool on one side of the lane and then returning down the pool in the same lane – just on the other side. Now you have swimmers in the same lane moving in opposite directions. This would work nicely if everyone swam at the same pace. However, passing is inevitable. If two swimmers decide to pass at the same time and are moving in opposite directions, suddenly, you are four abreast in one lane! Also, even in non-passing situations, swimmers can get off course and head-on collisions are possible.
It’s a good idea to incorporate open-water sighting techniques in this case. Lift your head as if sighting for a buoy in the open water to see what the traffic looks like in front of you. If you want to pass someone, it’s good to check first if someone is doing the same thing in the opposite direction.
In both serpentine swim scenarios, the water gets pretty churned up, even with the lane lines present to dissipate some of the wave action. Also, there is plenty of contact as you meet people at the walls or in passing situations. Treat this as you would in a mass start by relaxing your recovery arms and flowing with the contact.
When it’s time to cross the lane line in either scenario, the fastest way to do so is to push off from your present lane and proceed diagonally into the adjacent lane. If it’s your first time doing this or you’re nervous about a diagonal push-off, then there is nothing wrong with ducking under the lane line first before pushing off in the opposite direction.
If you’re thinking of entering a triathlon that incorporates a pool swim, and it is your very first triathlon, look at the course description first. Perhaps a course that allows one-way traffic only in each lane would be a gentler introduction to the swim discipline of the sport.
Got Scissor Kick?
 One of the most common technique errors I see in swimmers with the freestyle stroke is the use of a wide scissor kick instead of a compact flutter kick. Usually, the scissor kick is happening unknowingly, most often in conjunction with two technique errors—both involving breathing: a lifting of the head to breathe and/or over rotating to breathe.
When you lift your head for the breath, the hips begin to drop. The body senses this and the legs splay in an effort to stop the sinking and allow the breath to happen. The sinking usually happens anyway, however, and this is detrimental because once the hips drop, the body assumes an “uphill” position in the water, and drag is increased. Basic streamlining in the water is also affected when the legs move outside the shadow of the body.
When you over rotate for the breath (shoulder pulls too far back and you’re looking at the sky oftentimes as you inhale), the legs will split to stop you from flipping over, basically.
Have one of your friends or family members watch you or break out their phone and videotape you the next time you swim. Have them watch for the scissor kick (easiest to see if filmed while you are swimming away from them) and also have them try to identify if you are lifting or over rotating for the breath.
The solution to eliminating the scissor kick in most cases is to do what is counter intuitive when breathing. First, regarding lifting for the breath, we as humans are programmed to find the air, so if it’s above us—like when we’re swimming—we tend to lift to get it. The counter intuitive part is to roll for the breath instead, taking it when the mouth is resting at or near the waterline. Imagine a skewer running through the top of your head—one that points to the opposite end of the pool—and rotate your head on this axis. If you do so, your hips will remain at the surface (no sinking) and thus, you won’t need a scissor kick to keep you afloat.
 If you’re a head lifter, a drill for learning the proper head rotation for breathing is a basic kick-on-the-side drill (also called streamline drill or skating drill). Your body will be angled at a comfortable position on its side, head down, hips at the surface, bottom arm extended in front of you (palm down) and top hand at your side. From this position, rotate your head on the long axis to get your breath. Think about bringing your chin to your shoulder. For many swimmers, rolling the shoulder back slightly to initiate the head movement helps here. If your hips are on the surface and you’ve rolled your head in a level manner, you’ll clear for the breath.
Because you are moving so slowly during this drill, to ensure a level roll of the head, you might have to take your breath looking straight up (a drill breath). Yes, you would be over rotating in this case, but it’s for the specific reason of teaching a level head roll. The important thing here is that you are practicing the proper rolling motion of the head. I watch all the time as swimmers “cheat” on this drill and lift their heads to grab a quick breath, imprinting the same movement they do when they swim. So, keep the head roll level and roll farther than normal to get the breath, if necessary, to ensure an even movement. When you add the momentum that comes from a full swim stroke, you will not have to rotate your head so far to get the breath. But, you will have ingrained the proper movement pattern (no lifting) to initiate the breath correctly.
If you over rotate to breathe, you have the rolling part correct, but you are probably not comfortable taking a breath with your mouth near the waterline. You can practice this while standing in shallow water. Lay your ear in the water, waterline running across your lower lip and bottom goggle, and spend some time breathing here (in through the mouth, out through the nose). Sounds a little weird, I know, but you want to get used to that feeling of having the water next to your mouth and sometimes rolling into your mouth while you’re inhaling. You can also take the time to view the water through the lower goggle to reference the surface in a proper breathing position relative to your goggle. If you increase your awareness of your positioning in this way, you will be better able to identify the tendency to over rotate while you’re swimming.
Swimming and Typing . . . Fast
“Uggh! Do I really have to slow down to learn proper swim technique?”
 I get this reaction all the time. No one wants to slow down in their quest to go faster. Two steps back to move three steps forward—for a hard-charging, type ‘A’ triathlete? No way.
Ok. Here’s an analogy that I often use to get my point across about the value of drill work and the value of slowing down in general in order to learn how to go faster in the swim.
Say you can type fifty words per minute using your computer keyboard, but you would like to type eighty words per minute. I tell you, “Yes, I can teach you to type at eighty words per minute, but you’ll need to rearrange six keys on the keyboard in order to do it.” You say, “Yes! I’m all over it!”
You place your hands on the keyboard and start to fire away, fingers flying at their normal speed, absolutely sure that you will find the new key locations just as quickly as you found the old ones. But wait . . . Because you have the immediate visual feedback of several incorrectly spelled words on the page—because you’ve hit the wrong keys—you slow down. You have to. You have to slow down so that your fingers can find the new key locations. It would be something on the order of a miracle if you could type at the same speed or faster after having switched six keys around on the keyboard the first time you tried it.
 In swimming, it’s the same. Substitute the rearrangement of six letters on the keyboard with six stroke technique improvement areas. Crossing over with your left arm on entry. Lifting your head to breathe. Executing a hand-led recovery. Over rotating for the breath. Dropping your elbow during the pull. Swimming without core body rotation. Here are six things you need to correct in order to go faster in the swim.
“Yes! I’m all over it!” You push off the wall, arms moving at their normal turnover rate, absolutely sure that you will correct every one of these technique errors on the fly. But unlike typing, you can’t see the mistakes you’re making when you’re swimming. In your mind, you’ve got it wired and you’re sure that you’re swimming differently, incorporating every technique change necessary at one time.
I’m here to tell you that it probably won’t work. Your body is going to default to old muscle memory to get the job done because it can’t possibly process so many changes at once and do so at speed. So . . . you have to slow down to give your body the opportunity to learn the new muscle movements, just like you would with a new keyboard arrangement.
Please keep this in mind when your swim coach gives you drills to improve your stroke technique. If you want to give yourself a chance to improve, allow yourself to slow down. In the end, you’ll be faster for it.
Sun Yang 2012 Olympic 1500-meter swim world record!
I’m telling you, this guy makes me cry he’s so smooth. You can see highlights of Sun Yang’s 1500-meter world record swim here: http://www.nbcolympics.com/video/swimming/highlights-sun-yang-wins-gold-in-1500m-freestyle.html.
Some quick comments on this amazing swim:
Stroke rate: He holds a steady 0.96 stroke rate (he takes one stroke every 0.96 seconds) for almost the entire first 1000 meters. He then picks it up to 0.95 before increasing to 0.93 with 150 meters to go. In the final 50, he sprints in with a stroke every 0.75 seconds.
Stroke length: He holds from 26 to 27 strokes per length. Think about that for a moment. Twenty-six strokes for 50 meters. That’s 13 strokes for 25 meters. And he does this again, and again, and again. Same stroke count. Same stroke rate. Kicking out :59 second 100’s over and over and over again. Talk about some precisely targeted neuromuscular training!
Alignment: The guy swims like he’s on rails. Arms extending straight. No head movement. Straight down the center of the lane.
Kick: Four kicks per stroke cycle. Yep. Only four. In fact, he takes just one kick coming off the breath, completes two small flutter kicks and then snaps just one kick to get to the breath again. For you triathletes who have heard over and over that you need an always-on, strong kick, think again. This guy doesn’t even have to bike and run after his 1500 and he is still modest with the kicking. The key is that it’s integrated. It’s timed with his stroke. He kicks only at the right time to snap the hip to the other side. Nothing extra.
Breathing: Two-count (one breath every two strokes). He even threw in some single-side breathing. Again, triathletes, you have heard that you need to breathe every 3 strokes (or do bilateral breathing). It really is ok to do 2-count breathing. If you need the air, take it–just like each guy in the 1500-meter finals of the Olympics.
Catch: Note the wide hand (no cupping). Also note the high elbow and vertical forearm. Textbook.
Recovery: Can you say high elbows? Oh, my . . .
Final outcome? A new world record (he broke his own) of 14:31.02.